Winterizing your RV is crucial to ensure its longevity and functionality during the cold winter months. One often overlooked component of this process is the outdoor shower. Neglecting to properly winterize your RV’s outdoor shower can lead to costly repairs down the road.
In this comprehensive guide, we will walk you through the steps to winterize your RV outdoor shower effectively, providing you with the knowledge and confidence to protect your investment.
Why Winterize Your RV Outdoor Shower?
Before we dive into the step-by-step process of winterizing your RV outdoor shower, let’s understand why it’s essential.
Prevent Freezing Damage
During winter, temperatures can drop significantly, causing water in your RV’s plumbing system to freeze. When water freezes, it expands, which can lead to cracked pipes, damaged fixtures, and costly repairs. Winterizing your outdoor shower is crucial to prevent these issues.
Avoid Costly Repairs
Repairing frozen and burst pipes can be expensive, not to mention the inconvenience it can cause during your travels. Properly winterizing your RV’s outdoor shower can save you from these hassles and expenses.
Extend the Lifespan
Taking care of your RV’s components, including the outdoor shower, ensures that your vehicle will last longer and remain in good condition. Winterizing is part of the routine maintenance required to keep your RV in top shape.
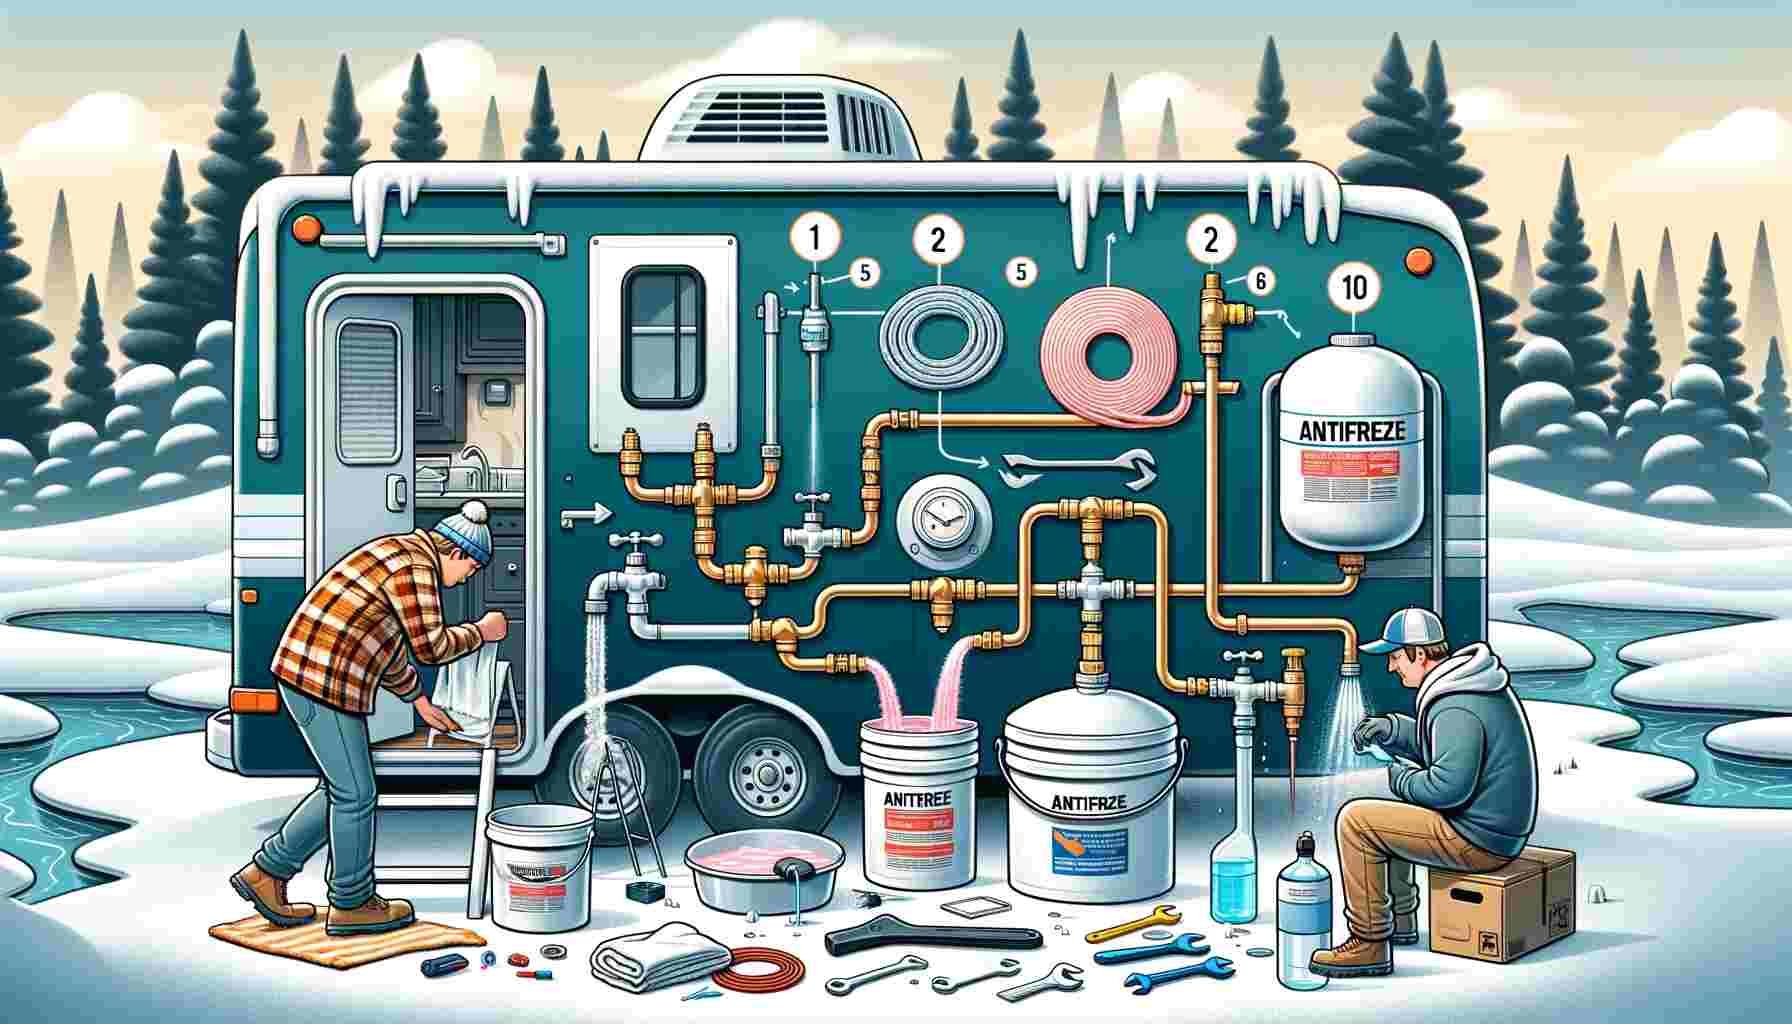
Step-by-Step Guide to Winterizing Your RV Outdoor Shower
Now that you understand the importance of winterizing let’s go through the process step by step:
1. Gather Your Supplies
Before you begin, gather the necessary supplies:
- RV antifreeze (non-toxic, safe for plumbing)
- A wrench or pliers
- A funnel
- Rubber gloves
- A bucket
- A few old towels
2. Drain the System
Start by draining any remaining water from your outdoor shower system. This can usually be done by opening the outdoor shower valve and any low-point drains your RV may have. Allow all the water to flow out completely.
3. Bypass the Water Heater
To avoid wasting antifreeze, bypass your RV’s water heater. Consult your RV’s manual for specific instructions on how to do this, as it can vary between models.
4. Connect the Antifreeze
- Locate the water pump. It’s usually in a convenient and accessible location.
- Disconnect the intake hose that draws water from your RV’s fresh water tank.
- Attach a clear plastic hose to the water pump’s intake fitting.
- Place the other end of the hose into a container of RV antifreeze.
5. Pump in Antifreeze
- Turn on the water pump. It will start drawing antifreeze into the system.
- Go to your outdoor shower and turn on both the hot and cold taps.
- Wait until you see pink antifreeze coming out of the showerhead.
- Turn off the taps.
6. Drain the Showerhead
- After pumping antifreeze through the system, leave the taps in the open position.
- Return to the water pump and turn it off.
- Go back to the outdoor shower and ensure that both hot and cold taps are left open.
- This will prevent any remaining water from freezing and causing damage.
7. Inspect for Leaks
Inspect the entire system for any signs of leaks or drips. Tighten any fittings if necessary. A leak during winter can lead to problems, so it’s important to address this now.
8. Clean Up
Dispose of any antifreeze properly, as it is toxic. Rinse out your bucket and hoses to remove any remaining antifreeze residue.
9. Record the Winterization
It’s good practice to record the date and steps you took to winterize your RV outdoor shower. This will help you remember the process for the next season and ensure you haven’t missed any steps.
Additional Tips and Considerations
- Insulate Your Outdoor Shower: Consider using insulating materials around your outdoor shower fixture to provide extra protection against freezing temperatures.
- Regular Maintenance: Perform routine checks throughout the winter to ensure everything remains in good condition.
- Consult Your RV Manual: Always refer to your RV’s manual for specific winterization instructions tailored to your RV model.
- Consider Professional Help: If you are unsure about any step or are uncomfortable with DIY winterization, consider seeking professional assistance.
- Don’t Forget the Interior: In addition to the outdoor shower, don’t forget to winterize the rest of your RV’s plumbing system, including sinks, toilets, and water lines.
Conclusion
Winterizing your RV outdoor shower is a crucial step in preparing your vehicle for the cold months ahead. Neglecting this process can lead to costly repairs and inconvenience during your travels.
By following the steps outlined in this comprehensive guide, you can ensure that your outdoor shower—and your entire RV—remains in excellent condition, ready for your next adventure. Remember, proper maintenance is key to enjoying years of trouble-free RVing even in the coldest of winters.
Related:


