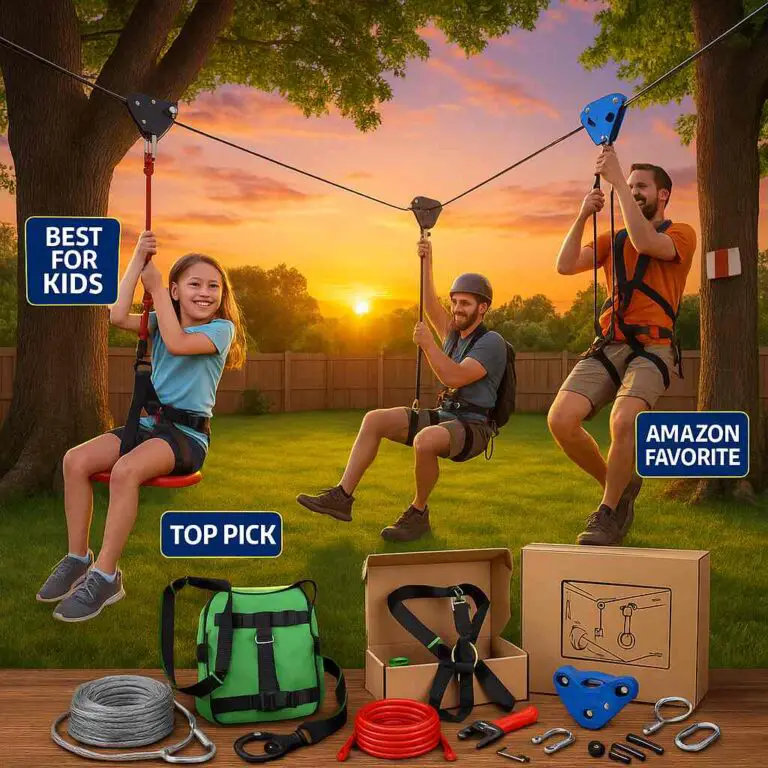
Ziplining is an exhilarating outdoor activity that has gained popularity in recent years, not only in adventure parks but also in backyards. Whether you’re planning to build a backyard zipline for a DIY project or considering purchasing a kit, one of the fundamental questions you’ll face is, “How long should a zipline be?”
The ideal length for a zipline depends on various factors, including your location, available space, and personal preferences. However, a common range for residential ziplines is between 50 and 500 feet long with an average 250-pound weight limit.
But that’s not all. In this comprehensive guide, we will delve into the intricacies of zipline design and help you determine the ideal zipline length for your specific needs.
Choosing the Right Zipline Location
Before you start planning the length of your zipline, you need to select the perfect location for it. Ideally, you should install your zipline in your backyard or on your property. Here are some key considerations when choosing the location:
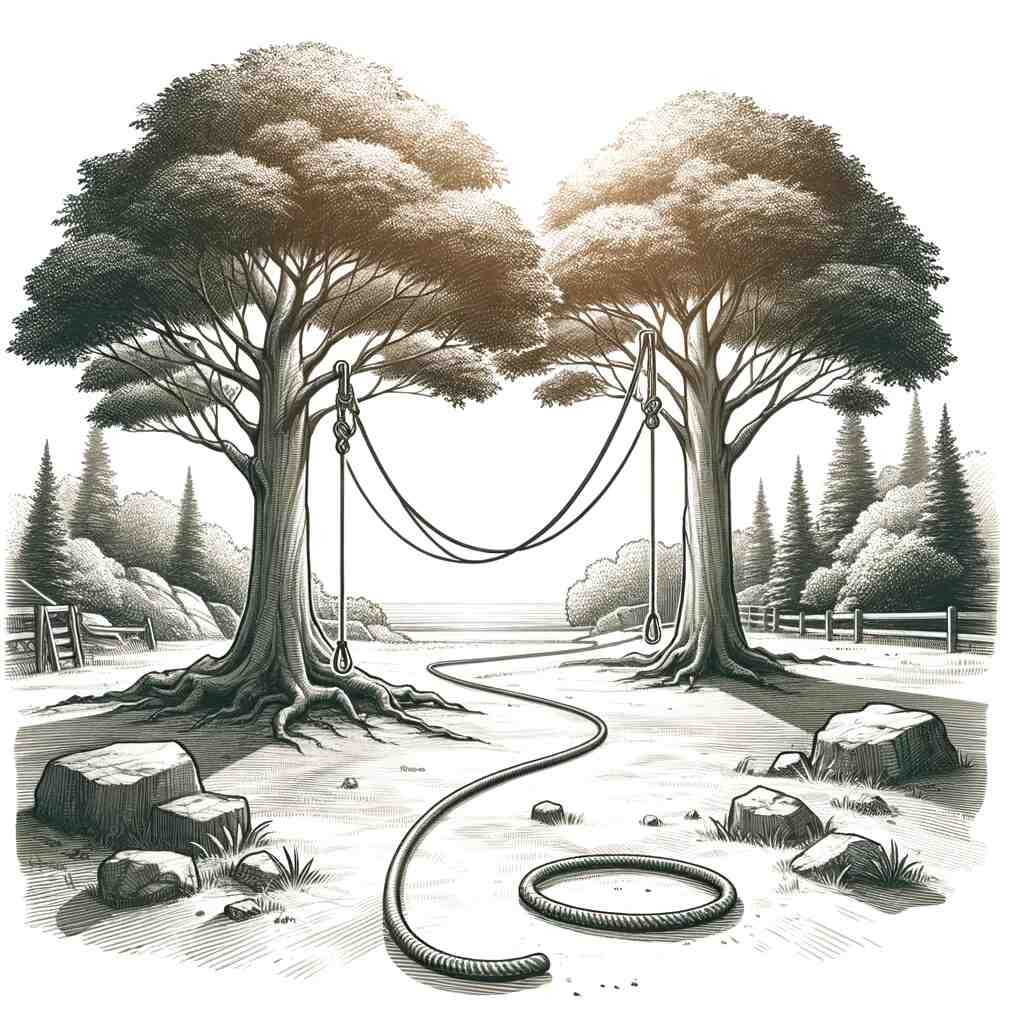
1. Tree Selection
Most backyard ziplines require two anchor points, typically trees. However, it’s essential to choose the right trees to ensure the safety and stability of your zipline. Avoid trees that are rotten, old, have cracks, or are rooted in loose soil or sand. Instead, opt for healthy trees with a minimum 12-inch diameter around the trunk.
2. Clearance Requirements
To ensure safe ziplining, maintain a clear path along the entire zipline route. Clear the area of branches, rocks, or any other obstacles to create a safe and unobstructed experience for riders.
Understanding Zipline Design
Now that you’ve chosen the location, it’s time to delve into the specifics of zipline design. A well-designed zipline ensures not only safety but also an enjoyable experience for riders.
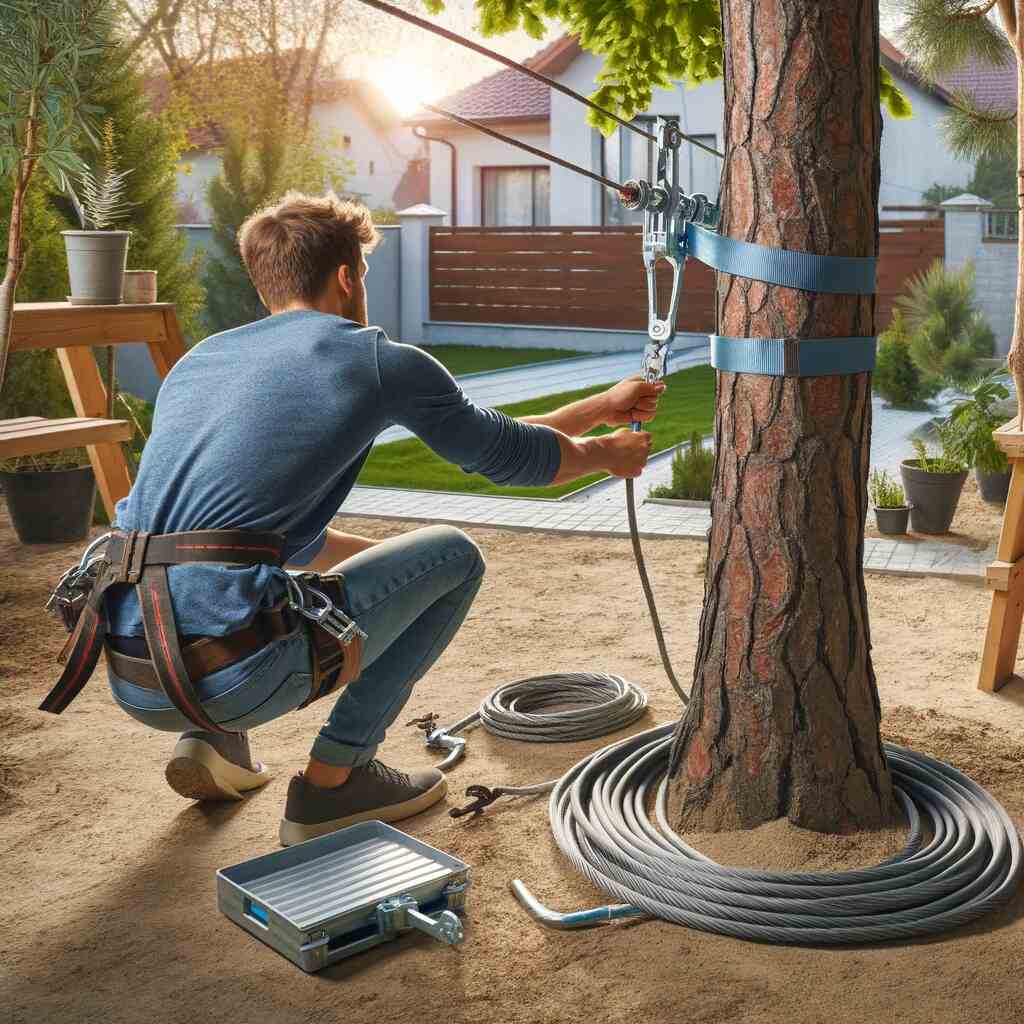
1. Anchor Selection
Choosing the right anchors is crucial for the stability and safety of your zipline. The anchors, typically trees, must withstand significant horizontal force, up to 3,000 pounds. Ensure that the trees are healthy and can support this load without risk of falling. If in doubt, consult with an engineer for professional guidance.
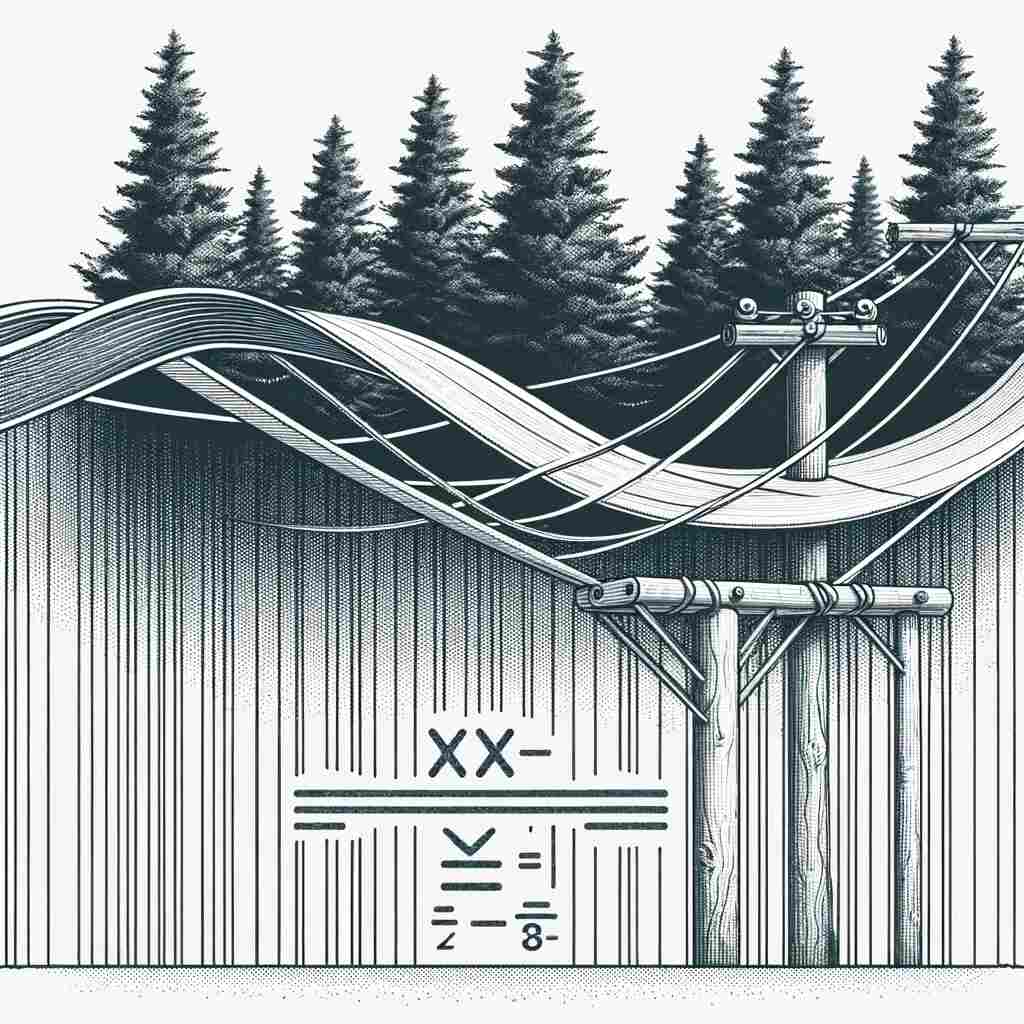
2. Cable Tension and Sag Calculation
Cable sag is the amount the zipline drops when a rider’s weight is added. To calculate the cable sag, use the following simple formula: (Length of Zipline) x (0.02). For example, a 100-foot zipline would have 2 feet of sag. It’s essential to account for cable sag to prevent riders’ feet from dragging during the ride.
3. Cable Slope
The slope of your zipline is another critical factor to consider. The recommended slope for ziplines that utilize a stop block is 3%, which results in a 3-foot drop for every 100 feet of cable. If you plan to use a bungee braking system, the maximum allowable slope is 6%, equivalent to a 6-foot drop per 100 feet.
4. Anchor Height
Anchor height refers to the elevation at which your zipline attaches to the tree or anchor. To calculate anchor height, you’ll need to consider elevation change, ending anchor height, and starting anchor height. Here’s a breakdown:
- Elevation Change: If your zipline is on flat land, the elevation change is 0 feet. If it’s on a slope or hill, you may need a sight level to determine the elevation change between the ground level of the starting anchor and the ground level of the end anchor.
- Ending Anchor Height = (Zip line Sag) + 7 feet
- Starting Anchor Height = (Zip line Slope) + (Ending Anchor Height) – (Elevation Change)
To illustrate this, let’s use an example:
- Zip line Length: 100 feet
- Zip line Slope: 3 feet (3% slope)
- Zip line Sag: 2 feet
- Elevation Change: 0 feet
- Ending Anchor Height: 9 feet
- Starting Anchor Height: 12 feet
Selecting the Right Zipline Parts
Now that you have a clear understanding of the design considerations, it’s time to choose the appropriate zipline parts to bring your project to life.
1. Cable
Selecting the right cable is crucial for the safety and performance of your zipline. We highly recommend using Galvanized Aircraft Cable for ziplining. This type of cable is durable, flexible, and designed to withstand the rigors of zipline use.
2. Cable Clamps
Cable clamps or U-bolts are used to secure the dead ends of the cable. It’s important to apply the recommended torque (usually 15 ft. lbs) and space the clamps 1-2 inches apart for a secure connection.
3. Turnbuckles
A turnbuckle is a device used to adjust the tension or length of zipline cables. It allows you to fine-tune the tension of your zipline, ensuring a smooth and safe ride.
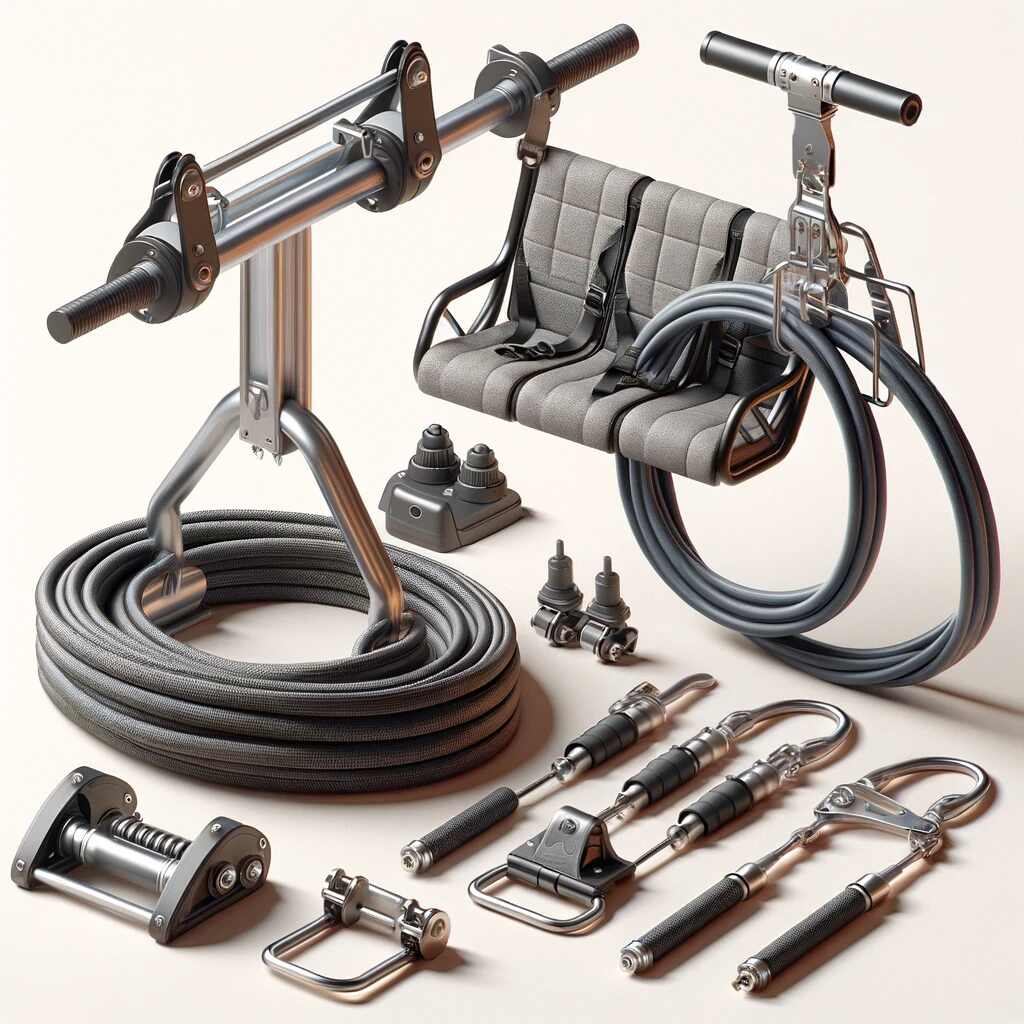
4. Cable Sling
Cable slings are designed to wrap around your anchor, whether it’s a tree or a pole. They connect to the turnbuckle and play a crucial role in securing the zipline.
5. Thimble
Thimbles help maintain the durability of the cable by preventing crimping, especially in sharp turns. They are typically used near the cable clamps when the cable has to loop back around.
Installing Your Zipline
With the design and parts selection complete, it’s time to install your zipline. The installation process may vary depending on the specific kit you have, but here’s a general overview of the steps involved:
- Starting Anchor: Begin at the starting anchor point, which is typically one of the selected trees. Wrap the cable slings around the anchor and secure them to a turnbuckle. Attach the zipline cable to the empty end of the turnbuckle.
- Ending Anchor: The ending anchor point may be another tree or structure at the opposite end of the zipline. The cable will wrap around this anchor and should be secured with cable clamps.
- Tensioning: Depending on your zipline kit, there may be one or two turnbuckles—one on each end—for further tensioning. Adjust the turnbuckles to achieve the desired cable tension.
- Zipline Equipment: Install additional zipline equipment such as trolleys, braking systems, and seats or harnesses as per the manufacturer’s instructions.
- Safety Test and Inspection: Before allowing anyone to ride the zipline, conduct a safety test and inspection. Use a test weight (e.g., a bucket of water or weights) to ensure that the braking mechanism, trolley, and cable are functioning correctly. Check the security of the anchors, and if possible, mark the cable clamps with a sharpie before the test to detect any shifting during the ride.
- Regular Maintenance: Ziplines require regular maintenance to ensure they remain safe and operational. Check for signs of cable fraying, excessive friction in the trolley, and secure all carabiners. Instruct riders on safety rules and guidelines before they embark on their zipline adventure.
Exploring Zipline Equipment
Ziplining is not just about the cable and anchors; it also involves a range of equipment to enhance the experience and safety of riders. Let’s take a closer look at some of the essential zipline equipment:
1. Trolley
The zipline trolley is a crucial component that riders rely on for a smooth and enjoyable experience. Some trolleys require the end of the cable to be fed through them, while others are detachable. Choose the type of trolley that best suits your zipline setup.
2. Braking Systems
Safety is paramount when it comes to ziplining, and braking systems play a significant role in ensuring a controlled and safe ride. There are various braking systems to choose from, including:
- Bungee Braking System: This is often recommended, especially when combined with a stop block. It provides reliable braking performance.
- Spring Stop: In some cases, a spring stop may be acceptable, but it’s crucial to follow manufacturer guidelines and ensure its effectiveness.
- Creative Solutions: Some zipline enthusiasts come up with unique braking systems to add an extra layer of excitement to their rides. However, safety should always be the top priority when experimenting with custom solutions.
3. Seats/Harnesses
The choice of seats or harnesses for riders can significantly impact their comfort and experience. Consider the preferences of your riders and the type of zipline adventure you want to offer. Options include swing seats, disc seats, and harnesses. These attachments are secured using carabiners attached to the trolley.
Conclusion: Safety First
In conclusion, designing and installing a zipline can be an exciting project that provides hours of outdoor fun for you and your family or friends. However, safety should always be the top priority. Once everything is installed, conduct thorough safety tests and inspections to ensure that your zipline is operating as intended. Regular maintenance and vigilance are key to keeping your zipline safe and enjoyable for years to come.
Remember to follow manufacturer guidelines and consult with experts or engineers if you have any doubts about the safety or design of your zipline. With the right location, design, equipment, and safety measures in place, your zipline adventure is bound to be a thrilling and memorable experience for all. So, go ahead, embrace the thrill of ziplining, and soar through the treetops with confidence!