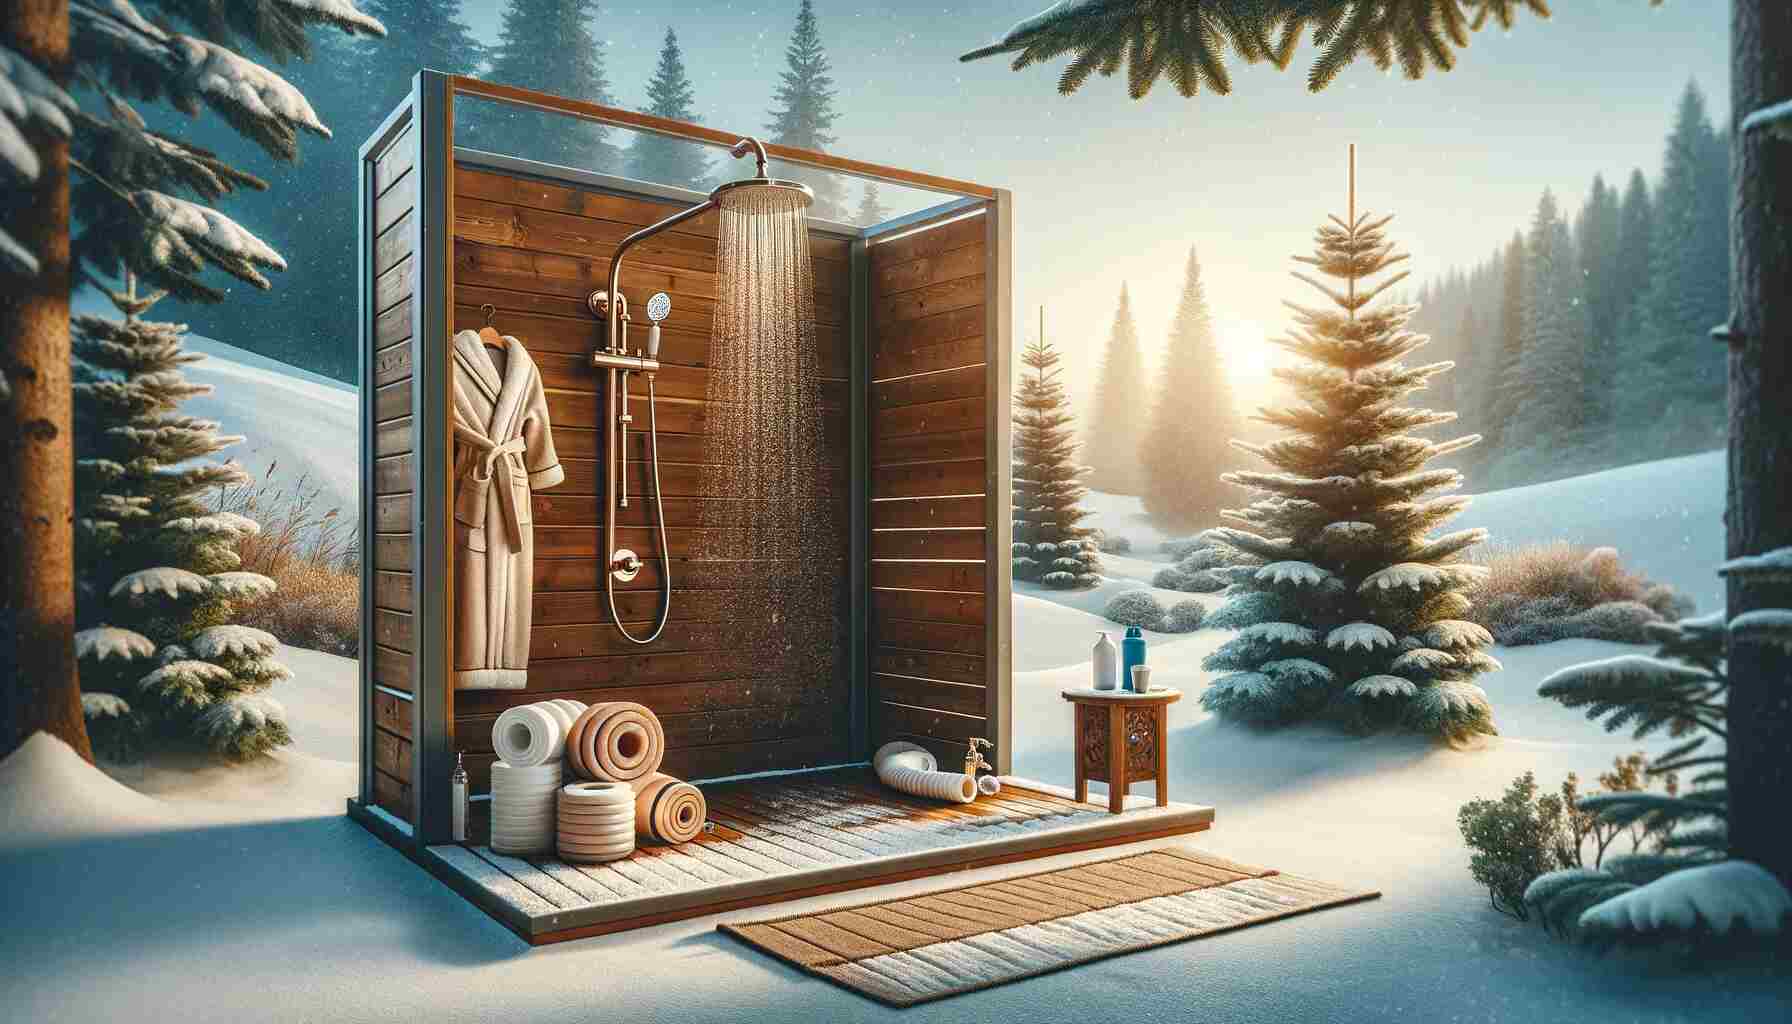
As the chilly winds of winter approach, it’s essential to prepare your outdoor shower for the cold season ahead. Whether you use it for rinsing off after a day at the beach or for a quick rinse after a swim, winterizing your outdoor shower is crucial to prevent damage caused by freezing temperatures.
Why Winterize Your Outdoor Shower?
Before we dive into the steps for winterizing your outdoor shower, it’s essential to understand why this process is necessary. Winterizing helps prevent several potential problems, such as:
- Freezing Pipes: The most significant concern when it comes to outdoor showers is freezing pipes. When water inside the pipes freezes, it can expand and cause the pipes to burst, leading to costly repairs.
- Damage to Fixtures: Outdoor shower fixtures, like faucets and showerheads, are susceptible to damage from freezing temperatures. Proper winterization can help protect these fixtures from cracks and leaks.
- Mold and Mildew Growth: Without proper winterization, moisture can get trapped inside your outdoor shower, leading to the growth of mold and mildew.
- Extended Lifespan: Taking the time to winterize your outdoor shower can extend its lifespan, saving you money in the long run.
Now that we understand why it’s essential let’s move on to the steps for winterizing your outdoor shower.
Step By Step Process to Winterize Your Outdoor Shower
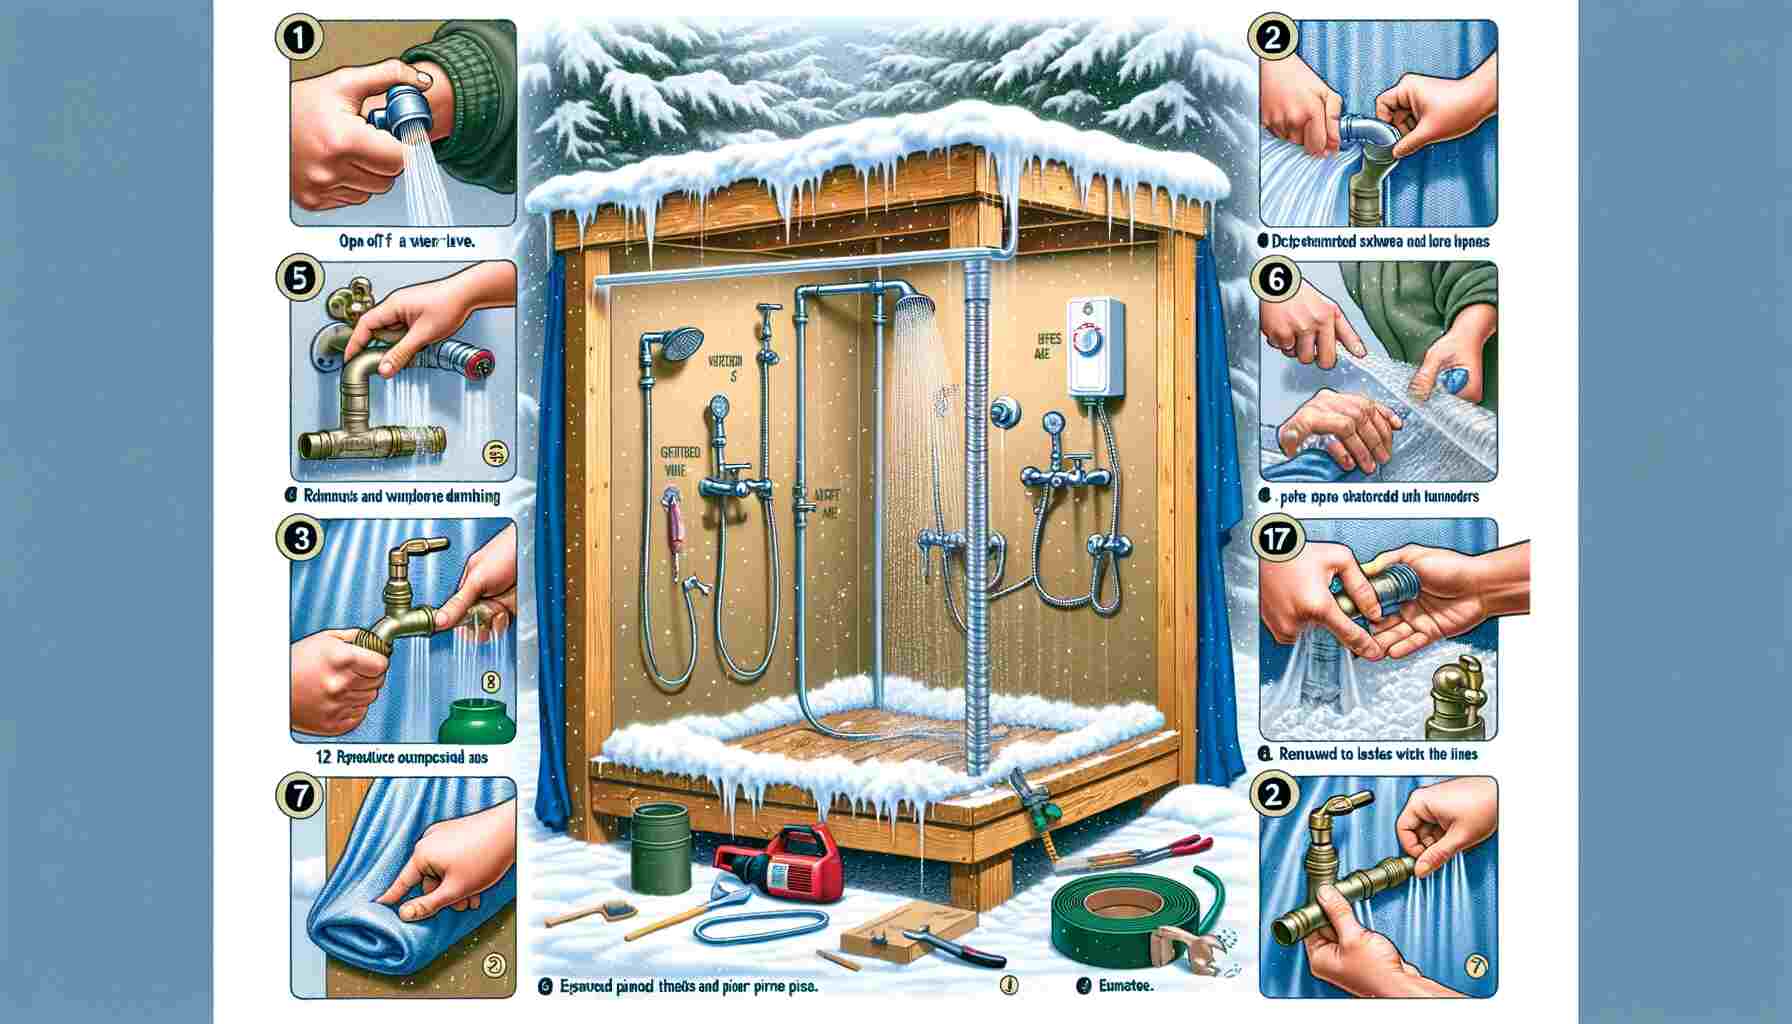
Step 1: Turn Off the Water Supply
The first step in winterizing your outdoor shower is to turn off the water supply. Locate the shut-off valve that controls water flow to your outdoor shower. This valve is typically found in a basement, crawl space, or utility room. Once you’ve located the valve, turn it off to stop water from flowing to your outdoor shower.
Step 2: Drain the Water Lines
After turning off the water supply, it’s time to drain the water lines connected to your outdoor shower. Follow these steps:
- Open the Faucets: Turn on the faucets in your outdoor shower to release any remaining water in the lines. Make sure both the hot and cold water faucets are open.
- Disconnect Hoses: If you have any hoses connected to your outdoor shower, disconnect them and drain any water inside.
- Shut Off Valves: If your outdoor shower has shut-off valves for hot and cold water, make sure to shut them off completely.
- Use Compressed Air: If you have access to compressed air, you can use it to blow out any remaining water from the lines. Start with the lowest faucet and work your way up to ensure all water is removed.
Step 3: Remove and Store Fixtures
To protect your fixtures from freezing and potential damage, it’s a good idea to remove them and store them indoors for the winter. Follow these steps:
- Remove Showerhead: Unscrew the showerhead from the shower arm and wrap it in a towel or cloth to prevent damage during storage.
- Remove Faucet Handles: If your outdoor shower has faucet handles, remove them as well and store them indoors.
- Store Indoors: Find a dry, indoor location to store the fixtures throughout the winter months. This will help prevent them from freezing and cracking.
Step 4: Insulate Pipes and Valves
To provide an extra layer of protection to your outdoor shower, consider insulating the exposed pipes and valves. You can use pipe insulation or heat tape for this purpose. Here’s how:
- Pipe Insulation: Wrap pipe insulation around any exposed pipes. This will help retain some heat and prevent freezing.
- Heat Tape: Heat tape is a self-regulating heating cable that can be wrapped around pipes and valves. It automatically adjusts its heat output based on the temperature, helping to prevent freezing.
Step 5: Cover and Protect
To further shield your outdoor shower from the elements, consider covering it with a protective material such as a tarp or outdoor shower cover. Here’s what to do:
- Cover the Shower: Place a waterproof tarp or outdoor shower cover over your outdoor shower unit. Make sure it’s securely fastened to prevent it from blowing away in the wind.
- Securely Fasten: Use bungee cords or straps to secure the cover in place. Ensure it completely covers the shower to keep out moisture and cold air.
Step 6: Regular Maintenance
Throughout the winter months, it’s essential to periodically check on your outdoor shower to ensure everything remains in good condition. Here are some maintenance tasks to consider:
- Snow Removal: If you live in an area with heavy snowfall, regularly remove snow from the outdoor shower cover to prevent excess weight and potential damage.
- Inspect for Leaks: Check for any signs of leaks or damage to the pipes, valves, or fixtures. If you notice any issues, address them promptly.
- Keep Drain Clear: Make sure the drain in your outdoor shower remains clear of debris to prevent water from pooling and freezing.
Step 7: Spring Reopening
As winter comes to an end, and warmer weather returns, it’s time to reopen your outdoor shower for the season. Follow these steps to ensure a smooth transition:
- Remove Cover: Carefully remove the tarp or cover from your outdoor shower, taking care not to damage it.
- Inspect for Damage: Check all components, including pipes, valves, and fixtures, for any signs of damage or wear.
- Reconnect Fixtures: Reattach the showerhead and faucet handles, ensuring they are tightly secured.
- Turn On Water: Turn the water supply back on and gradually open the faucets to allow water to flow back into the system. Check for any leaks.
- Test the Shower: Run the outdoor shower to make sure everything is working correctly and there are no issues.
Conclusion
Winterizing your outdoor shower is a crucial step in protecting your investment and preventing costly damage caused by freezing temperatures.
Don’t neglect this essential maintenance task, as it can save you time and money in the long run, while also ensuring your outdoor shower continues to provide a refreshing and convenient experience for years to come. Stay warm, stay safe, and enjoy your outdoor shower all year round!