How Much Line to Put on a Baitcaster

How Much Line to Put on a Baitcaster: A Comprehensive Guide for Anglers

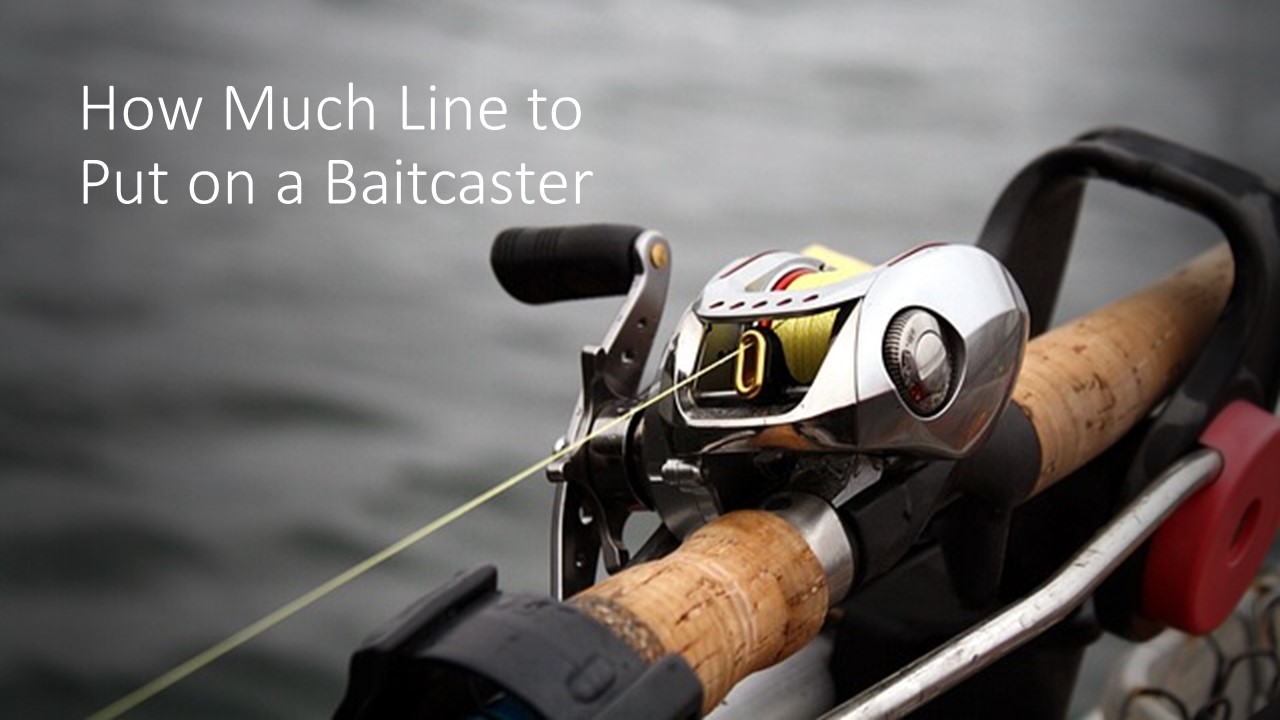
One of the crucial aspects of baitcasting is knowing just how much line to put on your reel. Trust me, getting this right can make a world of difference in your fishing experience.

The amount of line to put on a baitcaster depends on the reel’s line capacity. Consult the reel’s specifications or manufacturer’s recommendations for the appropriate line length in yards or pound test. 

But there’s more to that. As an avid angler with years of experience, I’m here to guide you through the process of determining the perfect line capacity for your baitcaster. So, grab your favorite beverage, sit back, and let’s explore the ins and outs of spooling line on a baitcaster together.

 Understanding Baitcaster Line Capacity:

Now, let’s take a closer look at baitcaster line capacity and its significance in optimizing your fishing performance. Line capacity refers to the maximum amount of fishing line that your baitcasting reel can hold. It’s an important factor to consider because it directly affects various aspects of your fishing experience, such as casting distance, accuracy, and the types of fish you can target.

When determining the appropriate line capacity for your baitcaster, you need to consider a few factors:

  • Target Species and Fishing Conditions: The species of fish you intend to catch and the fishing conditions you’ll encounter play a crucial role in selecting the right line capacity. For example, if you’re targeting larger, hard-fighting fish like bass or pike, you’ll need a reel with a higher line capacity to accommodate the heavier line required to handle those fish. On the other hand, if you’re going for smaller fish in calm waters, a lower line capacity may suffice.
  • Manufacturer’s Recommendations: Reel manufacturers often provide guidelines and specifications regarding the suitable line capacity for their reels. These recommendations are based on the reel’s design, gear ratio, and intended use. It’s always a good idea to consult the manufacturer’s information to ensure you’re within the recommended range for optimal performance.

To determine the specific line capacity for your baitcaster, check the reel’s specifications or consult the manufacturer’s website. They typically provide information on the maximum line capacity in terms of both pound test (line strength) and line length (usually in yards). Understanding these specifications will help you choose the right line capacity for your specific fishing needs.

By selecting the appropriate line capacity, you’ll ensure that your baitcasting reel performs optimally, allowing you to cast farther, maintain control, and handle the target species you’re after. So, take the time to consider the factors mentioned above and make an informed decision on the line capacity that suits your fishing style and goals.

Now that I’ve covered the basics of baitcaster line capacity, let’s move on to calculating the line length and exploring the spooling techniques that will help you set up your reel like a pro.

 Calculating Line Length

Calculating the line length for your baitcaster is an essential step in ensuring you have the right amount of line on your reel. Here’s a breakdown of how you can calculate the appropriate line length based on your reel’s capacity.

  1. Determine the Average Line Diameter: The diameter of your fishing line plays a role in determining the amount of line that can fit on your spool. Thinner lines take up less space, allowing for more line capacity, while thicker lines require more space and reduce the overall length you can spool. Check the specifications or packaging of your fishing line to find the average diameter.
  2. Refer to the Reel’s Line Capacity Specifications: Consult your baitcaster reel’s specifications, either from the manual or the manufacturer’s website, to find the line capacity information. Typically, the line capacity is provided in terms of both pound test (line strength) and line length (yards).
  3. Calculate the Maximum Line Length: With the average line diameter and the reel’s line capacity in mind, you can calculate the maximum line length your baitcaster can accommodate. Divide the reel’s line capacity (in yards) by the diameter of your fishing line (in inches) to get an estimate of the maximum line length. Remember to convert the diameter from inches to yards for accurate calculations.

For example, let’s say your baitcaster reel has a line capacity of 150 yards, and your fishing line has an average diameter of 0.011 inches. The calculation would be: 150 yards / (0.011 inches * 36 inches/yard) = approximately 3927 yards.

Please note that this calculation provides an estimate based on the average line diameter and assumes a uniform line thickness. Keep in mind that other factors, such as knots and variations in line thickness, can affect the actual line length you can spool.

Backing Line Considerations: Backing line is an additional length of thinner line that you can spool onto your reel before attaching the main fishing line. It serves several purposes, including providing extra line capacity and preventing slippage. When calculating the line length, you should also consider how much backing line you want to include in your setup.

The amount of backing line you use depends on your fishing scenarios and personal preferences. In general, including 30-50 yards of backing line is a good practice. However, if you’re targeting species that are known for long runs or if you’re fishing in situations where a significant amount of line may be required (such as deepwater fishing), you might want to increase the amount of backing line accordingly.

Now that you know how to calculate the line length, let’s move on to the next section, where I’ll explore the best techniques for spooling line onto your baitcaster reel.

 Spooling Techniques for Baitcasters

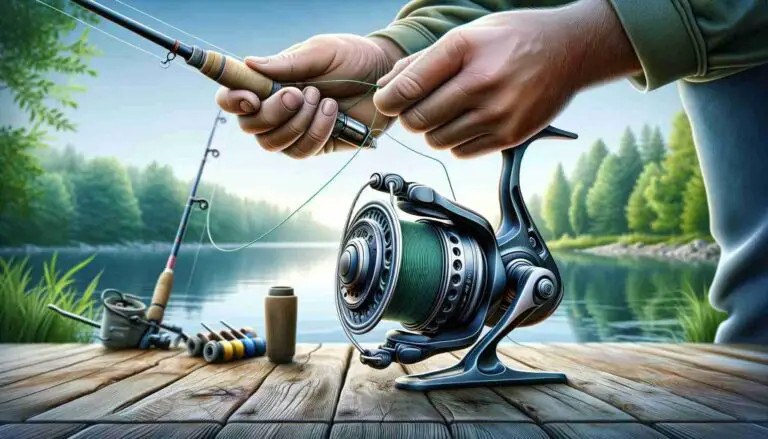
Now that you’ve determined the appropriate line length for your baitcaster, it’s time to learn the best techniques for spooling the line onto your reel. Proper spooling ensures smooth casting, reduces line twists and tangles, and sets you up for a successful fishing experience. Let’s dive into the step-by-step process:

Prepare the Spool:

    • Before spooling, make sure the spool is clean and free from any dirt or debris. A clean spool provides better line release and reduces the chances of line snags.
    • If you’re replacing old line, remove it from the spool entirely. It’s a good practice to dispose of the old line responsibly, as it can harm the environment.
    • Consider using a line conditioner. Line conditioners reduce friction and improve casting performance, especially for monofilament and fluorocarbon lines. Apply the conditioner according to the product instructions.

Attach the Line:

    • Start by tying the fishing line securely to the spool. There are several knots you can use, such as the Arbor Knot or the Uni Knot. Ensure the knot is tight and won’t slip during casting.
    • Once the line is secured, hold the reel handle and apply light tension to the line with your fingers. This tension will help ensure an even distribution of line across the spool.

Begin Spooling:

    • Rotate the reel handle to start winding the line onto the spool. Keep a steady and consistent pace while reeling in the line.
    • To prevent line twists, make sure the line goes onto the spool in the same direction it comes off the line spool. If you’re unsure about the line twist, you can pass the line through your fingers as it comes off the line spool to straighten it out.
    • Continue spooling the line onto the reel until you reach the desired line amount or the recommended line capacity for your reel.

Maintain Tension and Even Spooling:

    • Throughout the spooling process, maintain light tension on the line with your fingers. This tension helps prevent line bunching and ensures an even distribution across the spool.
    • Avoid overfilling the spool. Leave a small gap (around 1/8 inch or 3-4 millimeters) between the line and the spool rim to prevent line jams and backlash.

Test the Line:

    • Once the line is spooled onto the reel, it’s a good idea to test it before hitting the water. Find an open area where you can make a few practice casts.
    • Pay attention to the casting distance, smoothness, and control. If you experience any issues like backlash or line slipping off the spool, it may indicate that you need to adjust the line amount.

Remember, practice makes perfect. If you’re new to spooling a baitcaster, don’t worry if it takes a few tries to get it right. With time and experience, you’ll become more proficient at spooling line onto your baitcasting reel. Keep these techniques in mind, and don’t hesitate to make adjustments and experiment to find the spooling method that works best for you.

Next, I’ll explore how to test and adjust the line amount to achieve optimal performance with your baitcaster.

 Testing and Adjusting Line Amount

Once you’ve spooled the line onto your baitcaster reel, it’s important to test and adjust the line amount to ensure optimal performance. Testing allows you to assess the casting distance, control, and potential issues like backlash. Here’s a step-by-step guide to help you test and adjust the line amount on your baitcaster:

1. Find an Open Area for Testing:

    • Look for a spacious and open area where you can safely practice your casting technique without any obstructions or hazards.

2. Practice Casting:

    • Hold the rod with a firm grip, keeping your thumb lightly resting on the spool to control the line release during the cast.
    • Make a few test casts, paying attention to the distance and accuracy of your casts.
    • Observe if the line comes off the spool smoothly without any tangling or resistance.

3. Assess Casting Performance:

    • Evaluate the casting distance. If you’re not reaching the desired distance, it could indicate that you need to increase the line amount on your spool.
    • Pay attention to the control and accuracy of your casts. If you’re experiencing backlash or the line is consistently slipping off the spool, it may suggest that you have too much line on the spool.

4. Making Adjustments:

    • To increase the line amount: If you find that your casting distance is shorter than desired, you can add more line to the spool. Follow the spooling techniques we discussed earlier, making sure to maintain tension and an even distribution.
    • To decrease the line amount: If you’re experiencing backlash or the line is slipping off the spool, it’s an indication that you may have too much line. To remedy this, remove some line from the spool, keeping in mind the recommended line capacity of your reel.

5. Retest and Fine-Tune:

    • After making adjustments to the line amount, repeat the casting practice to test the performance with the new line length.
    • Continue testing and adjusting until you find the optimal line amount that provides the desired casting distance, control, and overall performance.

Finding the perfect line amount is a matter of trial and error. It can vary based on factors such as the fishing conditions, the weight of your lures, and your casting technique. Don’t be afraid to experiment and fine-tune the line amount to suit your preferences and fishing style.

 Additional Tips and Considerations

Choosing the right fishing line and implementing proper maintenance practices are crucial for maximizing the performance of your baitcaster. Here are 4 additional tips and considerations to keep in mind:

1. Choosing the Right Fishing Line:

    • Consider the fishing conditions and target species when selecting your fishing line. Different lines, such as monofilament, fluorocarbon, and braided lines, have distinct characteristics that make them suitable for specific situations.
    • Monofilament lines are versatile, cost-effective, and have good knot strength. They are ideal for beginners and work well in a variety of fishing scenarios.
    • Fluorocarbon lines are known for their invisibility underwater and are often used as leader material. They have excellent abrasion resistance and are suitable for clear water fishing.
    • Braided lines offer high strength, minimal stretch, and excellent sensitivity. They are commonly used when fishing heavy cover or targeting larger fish.
    • Consider the pound test (line strength) based on the size of the fish you’re targeting and the fishing conditions you’ll encounter.

2. Maintenance and Line Replacement:

    • Regularly inspect your fishing line for signs of wear, such as nicks, abrasions, or fraying. Damaged line can weaken and compromise your fishing success.
    • After each fishing trip, rinse your reel and spooled line with freshwater to remove saltwater, sand, and debris. Dry the reel thoroughly before storing it to prevent corrosion.
    • If you notice significant damage or weakening of the line, it’s important to replace it. Over time, fishing line can become brittle and lose its strength, so replacing it periodically ensures optimal performance and prevents line failure during critical moments.

3. Practice Proper Line Disposal:

    • Dispose of used fishing lines responsibly to protect the environment and wildlife. Many fishing supply stores and marinas have recycling programs specifically for fishing line. Take advantage of these programs or check with local recycling centers for proper disposal methods.

4. Experiment and Learn:

    • Baitcasting with a baitcaster reel takes practice and experience. Be patient, and don’t get discouraged if you face challenges initially. With time, you’ll develop better casting techniques and gain a deeper understanding of how your baitcaster performs.
    • Take note of your experiences and adjust your setup accordingly. Every angler is unique, and what works for someone else may not work for you. Personalize your baitcaster setup to suit your preferences and fishing style.

Conclusion

In conclusion, determining the right amount of line to put on a baitcaster reel is essential for optimizing your fishing performance. By considering the reel’s line capacity, consulting manufacturer recommendations, and factoring in fishing conditions and target species, you can spool the appropriate length of line.

Additionally, incorporating backing line can provide extra capacity when needed. Remember, finding the perfect line amount may require some trial and error, but with practice and experimentation, you’ll discover the ideal setup for your baitcaster.

If you have any questions or need further assistance, don’t hesitate to reach out. I’m here to help you succeed and enjoy every moment of your baitcasting adventures. Tight lines and happy fishing!

Check my last post: Do Bass Eat Shrimp? Is Shrimp A Good Fishing Bait? Answered

Raphael Dume
Raphael Dume

Raphael Dume, bestselling author and internet entrepreneur, is the visionary behind OutdoorDoer.com. He developed this platform to inspire and educate outdoor enthusiasts. OutdoorDoer.com, driven by a team of experts, offers accurate, insightful content and resources for adventurers of all levels. The site is a trusted guide for outdoor tips, gear reviews, and experiences, reflecting Raphael's passion for the outdoors and commitment to fostering a community of nature lovers.

Join the Doers community!

Enter your name and email address below and subscribe to our newsletter for exclusive updates and insights.

Leave a Reply

Your email address will not be published. Required fields are marked *