In this guide, I will explore everything you need to know about zip line kits, from their components and types to choosing the right kit, installation, maintenance, and safety tips. Whether you’re planning to build a backyard zip line or want to try zip lining for the first time, this guide will equip you with the necessary information to make an informed decision.
🧰 What is a Zip Line Kit?
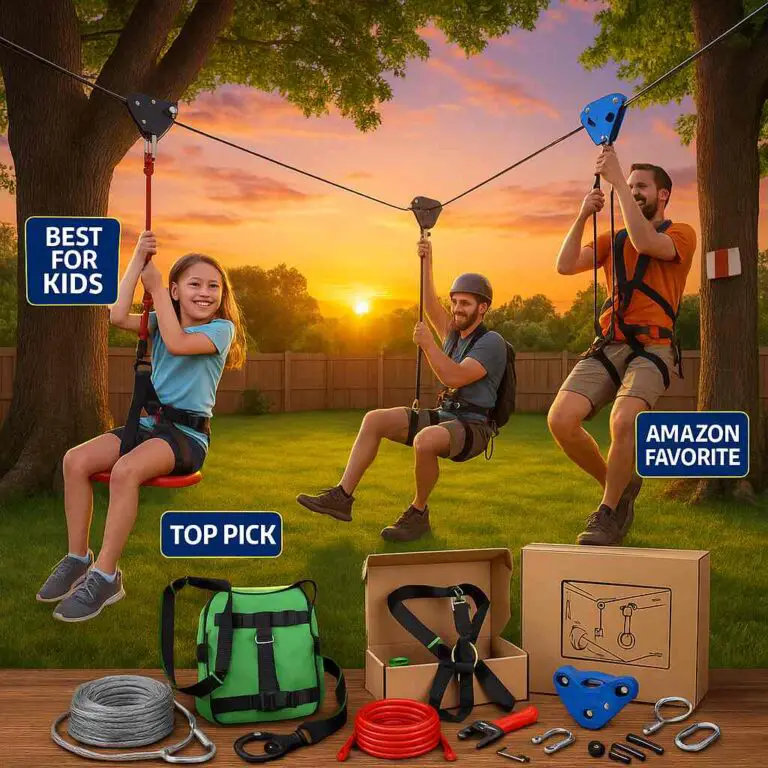
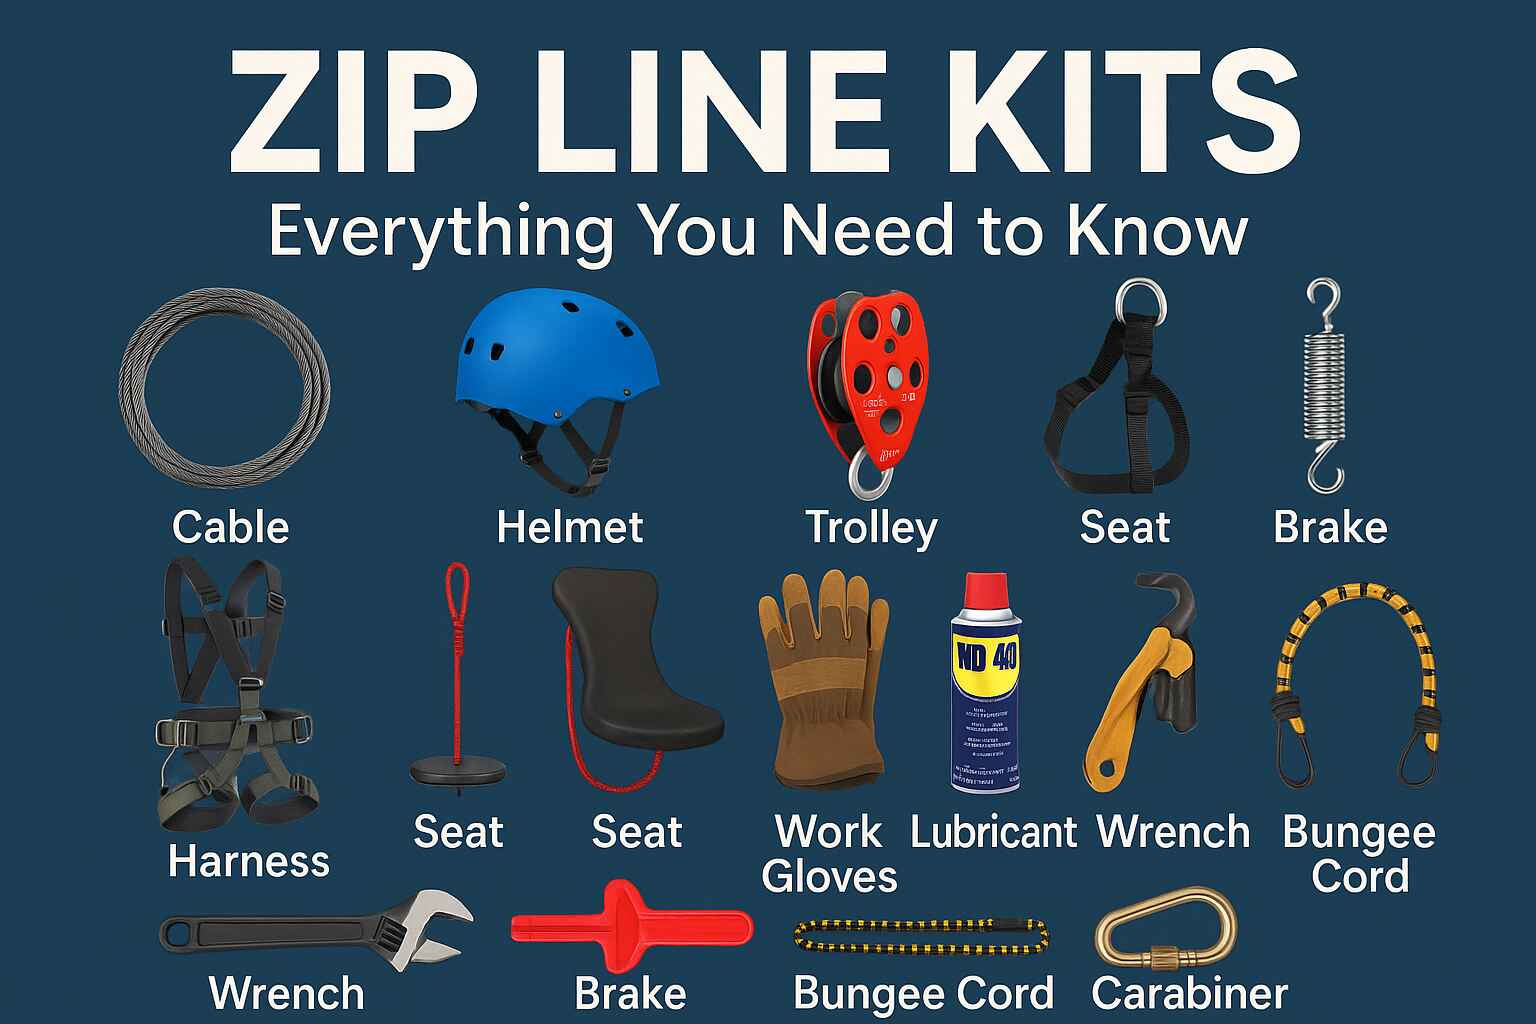
A zip line kit is a set of components that are used to create a zip line. A typical kit includes a cable, trolley or pulley, braking system, harness or seat, and other necessary hardware such as anchors, clamps, and bolts. These kits are popular for outdoor recreation and adventure, offering thrilling experiences for users of all ages and skill levels.
🔧 Recommended: CTSC Zip Line Kit with Seat and Brake – up to 250 ft
✅ Great for backyard setups, includes all tools and detailed instructions.
✅ Benefits of Using a Zip Line Kit
Physical & Mental Boost: Zip lining increases adrenaline and coordination.
Backyard Fun: Set up your own adventure park at home.
Cost-Effective: Cheaper than commercial zip line tours.
Customizable: Add seats, lights, or obstacles.
Eco-Friendly: Powered by gravity—no electricity needed!
🏡 Top Backyard Pick: Slackers 90′ Eagle Zipline Kit
✅ 90 feet of high-strength cable, easy for families and kids.
🛠️ Choosing the Right Zip Line Kit
1. Safety First
Ensure the kit meets ASTM or CE standards and includes a reliable brake.
👉 Check: Jugader 160ft Zip Line Kit with Bungee Brake
2. Length & Weight Capacity
Match kit specs to your riders and space.
👨👩👧👦 ZLP Hornet Zip Line Kit – 350 lb capacity
3. Ease of Installation
Choose kits with clear instructions and tools included.
🛠 CTSC 118ft Zip Line Kit with Spring Brake
4. Terrain Compatibility
Flat ground? Slopes? Choose accordingly. Some kits include turnbuckles for tensioning.
5. Customer Reviews
Look for kits with 4+ star ratings and lots of feedback.
🪛 Installing Your Zip Line Kit: 4 Key Steps
1. Preparation & Tools
Tools you’ll need: wrench, drill, level, gloves, ladder.
✅ TEKTON 18792 6-Inch Adjustable Wrench
2. Follow Instructions
Install anchor points, stretch and secure cable, attach trolley, install brake, test for tension.
3. Safety During Setup
Wear gloves and use ladders safely.
🧤 Ironclad General Utility Work Gloves
4. Test Before Riding
Always run an empty test ride before letting anyone on.
🧽 Maintaining Your Zip Line Kit
Inspect Monthly: Look for wear on cable, pulley, and brake.
Lubricate Pulleys: WD-40 Multi-Use Product
Replace Worn Parts: Don’t delay replacements.
Store Properly: Keep cables dry and rust-free.
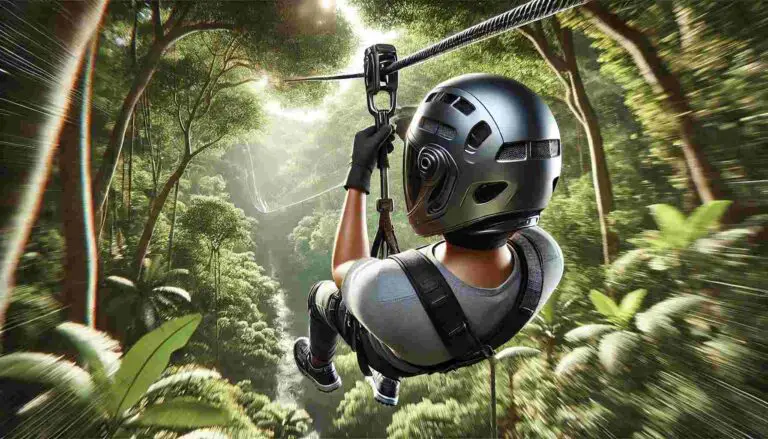
🦺 Zip Line Safety Tips
Do a Pre-Ride Safety Check
Wear Proper Gear
🪖 Tontron Adult Climbing Helmet
💺 Fusion Climb Centaur Half Body HarnessUse Correct Riding Form
Supervise Children
Avoid Poor Weather Conditions
Follow Instructions and Weight Limits
❓ FAQs About Zip Line Kits
Q: What is the best zip line kit for kids?
A: Try the Slackers Zipline Kit with Seat & Spring Brake
Q: How much weight can a zip line hold?
A: Most backyard kits support 200–350 lbs. Always check specs.
Q: Can I install a zip line myself?
A: Yes—many kits are DIY-friendly. Follow the guide or get help for longer lines.
Q: How long will a zip line last?
A: With proper care, 5–10 years. Rust and fraying are signs to replace parts.
🧭 Conclusion
Installing a zip line kit is a thrilling way to bring adventure home. Whether you’re buying for kids, teens, or the whole family, choose a reliable, safety-tested kit and install it with care.
🎯 Top-Rated Zip Line Kit on Amazon:
CTSC 98ft Zip Line Kit with Seat and Brake
🛒 Explore More Top Zip Line Kits →
Browse Amazon Zip Line Kits