Creating a zip line is an exciting project that can provide endless fun for kids and adults alike. While most zip lines rely on trees for support, it’s entirely possible to set one up without trees. This guide will walk you through everything you need to know to safely and effectively build a zip line without trees, ensuring a thrilling and secure experience.
Planning Your Zip Line
Before you start digging holes or purchasing materials, it’s essential to plan your zip line carefully. Consider the following factors:
- Location: Choose a suitable location with enough space and a gentle slope. The length of the zip line will determine the amount of space you need.
- Length and Height: Decide on the length of your zip line and the height of the starting and ending points. Ensure there is enough clearance from the ground and any obstacles.
- Materials: Gather the necessary materials, including sturdy support poles, a zip line kit, concrete, and safety gear.
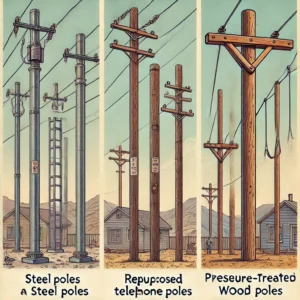
Choosing the Right Support Poles
Since you won’t be using trees, you’ll need to install support poles to anchor your zip line. Here are some options:
- Steel Poles: Steel poles are incredibly strong and durable, making them an excellent choice for a zip line. Ensure they are treated to resist rust and corrosion.
- Telephone Poles: Repurposed telephone poles can be a cost-effective and sturdy option. They are designed to withstand significant loads and are readily available in many areas.
- Pressure-Treated Wood Poles: For a more natural look, pressure-treated wood poles can work well. Ensure they are thick and strong enough to support the tension of the zip line.
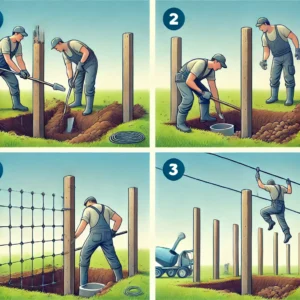
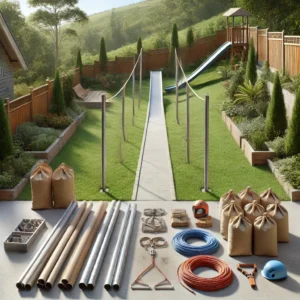
Installing the Support Poles
Proper installation of the support poles is crucial for safety and stability. Follow these steps:
- Digging the Holes: Dig holes for the support poles at least 3-4 feet deep. The depth will depend on the height and length of your zip line. Ensure the holes are wide enough to accommodate the poles and concrete.
- Setting the Poles: Place the poles in the holes and use a level to ensure they are perfectly vertical. Fill the holes with concrete and allow it to cure for at least 48 hours.
- Adding Support: For added stability, consider using guy wires anchored to the ground. This will help prevent the poles from bending or shifting under the tension of the zip line.
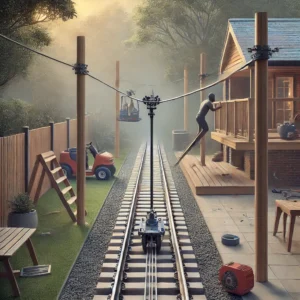
Installing the Zip Line
Once your support poles are securely in place, it’s time to install the zip line. Follow these steps:
- Attaching the Cable: Attach the zip line cable to the support poles using sturdy hardware. Ensure the cable is tight and has the proper slope for a smooth ride. The ideal slope is typically around 3-5%.
- Installing the Trolley: Attach the trolley to the zip line cable. Make sure it moves freely along the cable without any obstructions.
- Safety Features: Install a braking system at the end of the zip line to ensure a safe stop. You can use a bungee brake or a spring brake, both of which are effective in slowing down the rider.
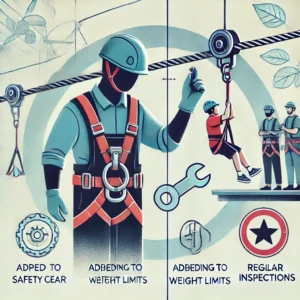
Safety Considerations
Safety should be your top priority when building and using a zip line. Here are some essential safety tips:
- Protective Gear: Always wear a helmet, harness, and gloves when using the zip line.
- Weight Limit: Adhere to the weight limit specified by the zip line kit manufacturer. Exceeding this limit can compromise safety.
- Regular Inspections: Regularly inspect the zip line, support poles, and hardware for any signs of wear or damage. Replace any compromised components immediately.
- Supervision: Ensure that children are supervised by an adult when using the zip line.
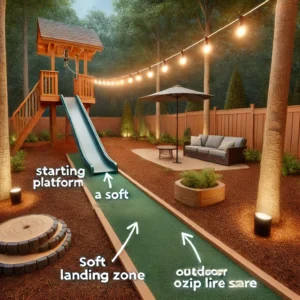
Enhancing Your Zip Line Experience
To make your zip line even more enjoyable, consider adding some of these features:
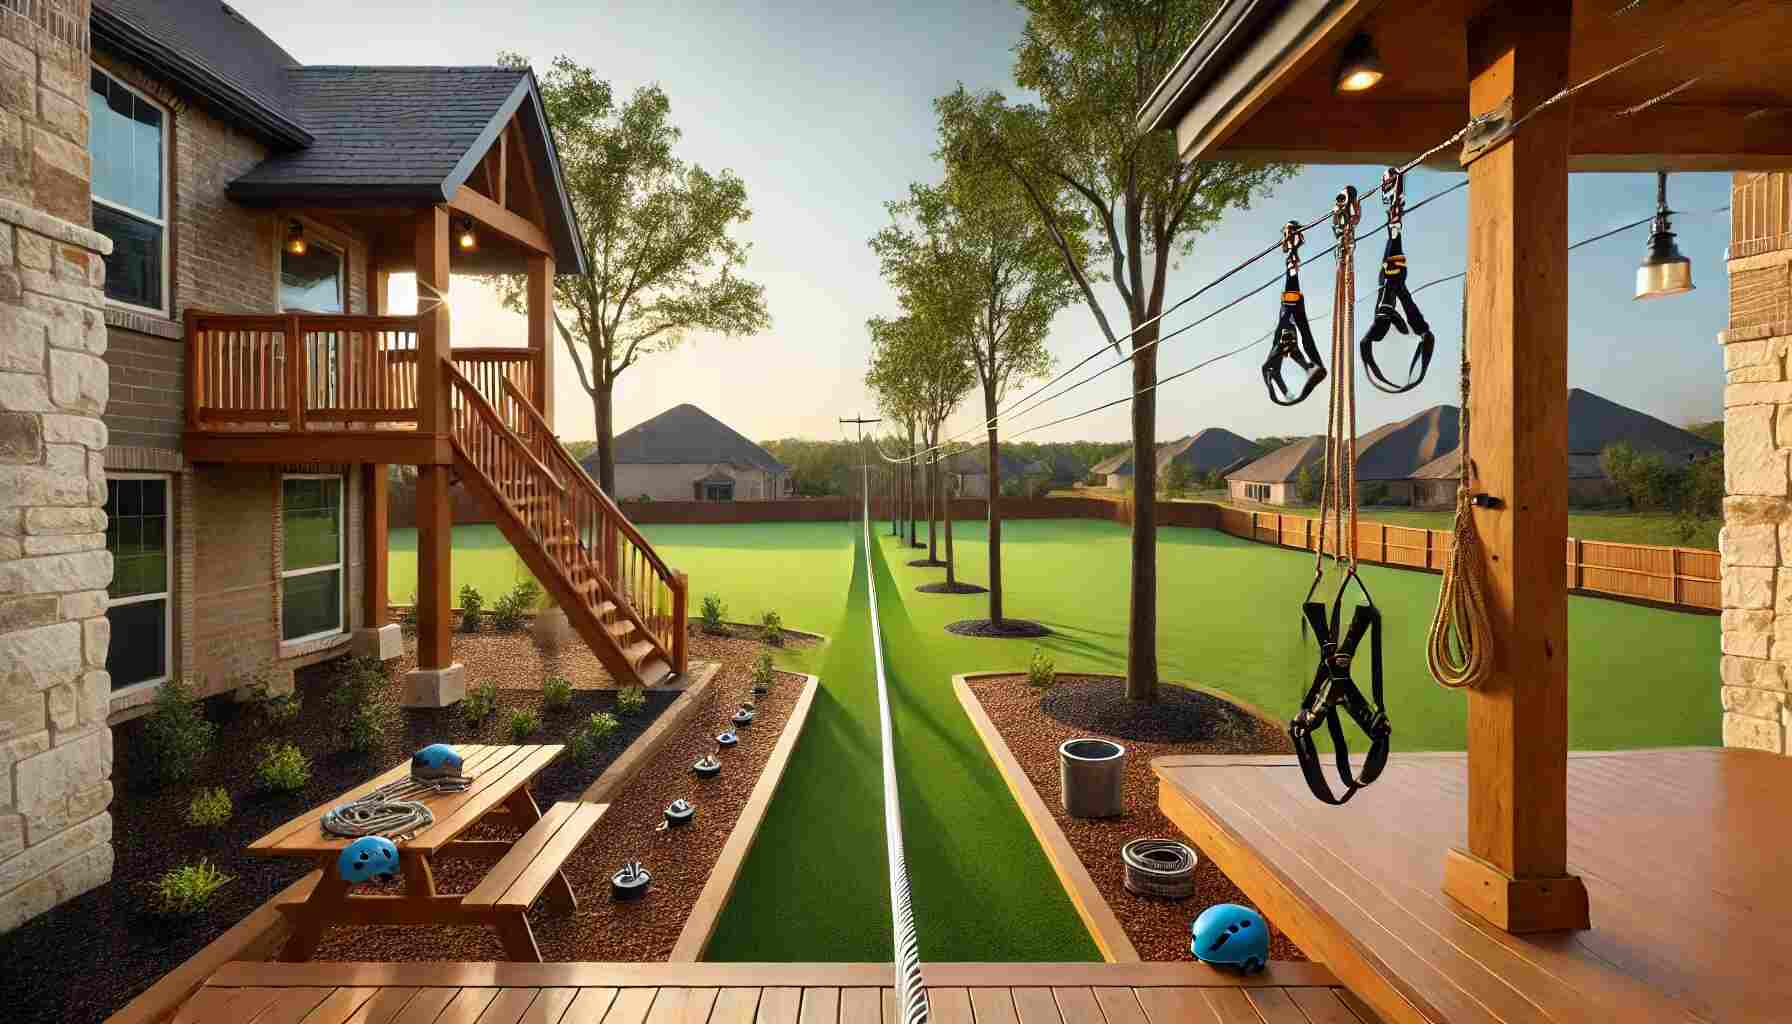
- Platform: Build a starting platform to make it easier to get on the zip line. Ensure the platform is sturdy and safe.
- Landing Zone: Create a soft landing zone at the end of the zip line using mulch, sand, or foam padding.
- Lighting: Install outdoor lighting around the zip line area to extend usage into the evening hours safely.
Recommended Zip Line Kits and Accessories
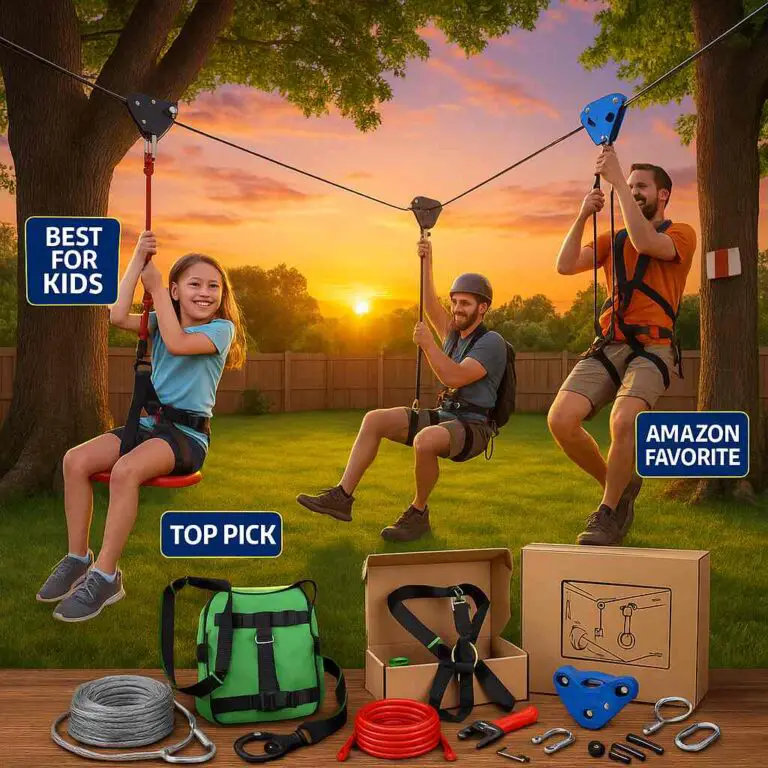
Here are some highly-rated zip line kits and accessories available on Amazon to help you get started:
- CTSC 95-foot Zip Line Kit: This comprehensive kit includes everything you need to set up a zip line, including a cable, trolley, and braking system. Amazon Link
- Slackers 100-foot Night Riderz Zip Line Kit: A popular choice that comes with a glowing trolley, perfect for evening rides. Amazon Link
- Hyponix Sporting 75-foot Zip Line Kit: A durable and easy-to-install kit that includes a bungee brake. Amazon Link
Conclusion
Building a zip line without trees is entirely feasible and can bring a thrilling outdoor activity to your backyard with careful planning and execution. Whether you use steel poles, telephone poles, or pressure-treated wood poles, ensure they are properly installed and regularly inspected. With the right kit and accessories, you’ll be zipping through your backyard in no time.
By following this comprehensive guide, you’ll be well on your way to creating a fun and safe zip line that can be enjoyed by everyone.
Enjoy the ride!