If you’re anything like me, there’s nothing quite like the thrill of hitting the road and setting up camp in the great outdoors. But as any seasoned camper knows, one of the keys to a successful camping experience is having a level camper. It’s the foundation for a cozy and stress-free stay under the stars. Have you ever found yourself with a camper that’s not quite level? Worry not, as this guide will come to your rescue!
We’ll cover everything from the importance of leveling, assessing your camper’s level, to the tools and methods to ensure a perfectly balanced abode.
The Importance of Leveling Your Camper
You’ve finally arrived at your dream camping spot, surrounded by breathtaking scenery, fresh air, and a sense of tranquility. But before you start your relaxation, there’s a critical task at hand: leveling your camper. Here’s why it’s so crucial:
- Safety First: A level camper prevents accidents, trips, and slips, ensuring the safety of everyone inside.
- Stable Living Space: An unlevel camper can be uncomfortable, with items shifting and sliding around.
- Proper Functioning of Appliances: Appliances like refrigerators and stoves work best when level.
- Preventing Water Damage: Uneven terrain can lead to pooling water and potential leaks.
- Extending Your Camper’s Lifespan: Leveling reduces stress on structural components, preventing wear and tear.
- Enhancing the Camping Experience: A level camper sets the tone for a fantastic and comfortable stay.
Assessing the Level of Your Camper
Before diving into the leveling process, it’s essential to assess whether your camper is level. Here’s how:
- Grab Your Leveling Tool: Use a built-in bubble level or a smartphone app designed for leveling.
- Park on a Flat Surface: Aim for the flattest surface available to make leveling easier.
- Check the Bubble Position: Note the position of the bubble. If it’s off-center, you’ll need to make adjustments.
- Identify Low and High Sides: The bubble’s lean indicates which side is lower.
- Check Different Spots: Assess multiple areas inside your camper for a comprehensive view.
- Outside Verification: Use the same tool on the exterior for extra certainty.

Preparing the Tools
Gather these essential tools to tackle the leveling process effectively:
- Leveling Blocks: Stackable blocks to adjust the camper’s height.
- Wheel Chocks: Prevents your camper from rolling or shifting.
- Tape Measure or Ruler: Helps in gauging the height needed for leveling.
- Rubber Mallet or Hammer: Assists in setting up the leveling blocks.
- Flashlight or Headlamp: Useful for working in dimly lit areas.
- Optional – RV Jacks or Stabilizer Jacks: For further fine-tuning the level.
- Optional – Wood Planks or Bricks: Can be used as makeshift leveling blocks.
Ensure all tools are in good condition and functioning correctly before starting.
Chocking the Wheels
Securing your camper’s wheels is a vital safety step:
- Park on a Level Surface: As level as possible for the best results.
- Engage the Parking Brake: Adds an extra layer of safety.
- Place the Wheel Chocks: Position them snugly against the wheels on the side you’re not lifting.
- Test the Stability: Gently rock your camper to ensure the chocks are securely in place.
- Chock All Wheels: Don’t forget any additional wheels on trailers or towable campers.
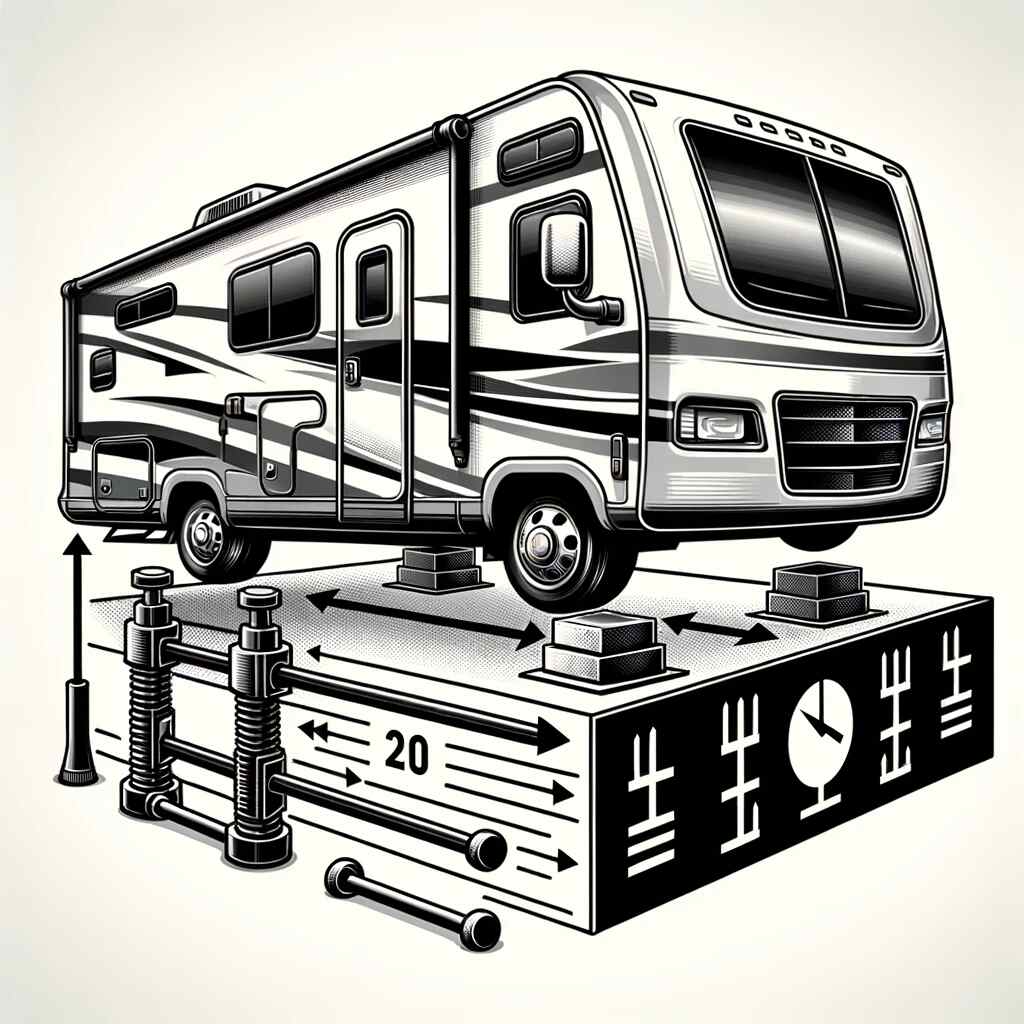
Using Leveling Blocks
Follow these steps to use leveling blocks effectively:
- Identify the Low Side: Determine which side needs raising.
- Position Your Camper: Ensure it’s parked securely and the wheel chocks are in place.
- Prep the Area: Clear debris from under the tires on the low side.
- Start Stacking: Begin stacking the leveling blocks under the low-side tires.
- Add Height Gradually: Raise the camper gradually, checking the level as you go.
- Drive onto the Blocks: Slowly drive the low-side wheels onto the blocks.
- Recheck the Level: Double-check to confirm that your camper is now level.
- Repeat for Other Sides: If necessary, repeat the process for other sides.
Caution: Do not exceed the maximum safe height when stacking leveling blocks.
Balancing with RV Jacks
If your camper has RV jacks or stabilizer jacks, use them for precise balancing:
- Identify the Side-to-Side Imbalance: Check the level to identify which side needs raising.
- Prepare the Area: Clear any obstacles around the jacks.
- Extend the Jacks: Begin extending them on the side that needs to be raised.
- Lift Gradually: Raise the jacks slowly, monitoring the level as you go.
- Check Both Sides: After adjusting, check the level inside your camper.
- Stabilize the Jacks: Ensure they are firmly in place and secured.
- Recheck Overall Level: Double-check the overall level of your camper.
- Engage Parking Brake: Secure your camper in place once leveled.
Caution: Avoid overextending the jacks to prevent damage.
Front-to-Back Leveling
Achieving a balance from front to back is crucial for comfort:
- Check Front-to-Back Imbalance: Use your leveling tool to assess the imbalance.
- Locate the Camper’s Tongue or Hitch: The front part that connects to your towing vehicle.
- Prepare the Area: Clear any items from around the tongue or hitch.
- Adjust the Tongue/Hitch Height: Use the jack to raise or lower the front.
- Check the Level Inside the Camper: Ensure an even level throughout.
- Stabilize the Tongue/Hitch: Once satisfied, ensure it’s securely in place.
- Final Leveling Check: Do a final check of the overall level.
- Engage Parking Brake: Secure your camper before settling in.
Alternative Leveling Methods
Explore these alternatives based on your setup and preferences:
- Stabilizer Jacks: Great for fine-tuning stability, not significant adjustments.
- Wood Planks or Bricks: Handy makeshift solutions but may lack the stability of leveling blocks.
- Compact Leveling Systems: Convenient and efficient, especially for frequent campers.
- Wheel Levelers: Specially designed for easy adjustment under the camper’s wheels.
- Inflatable Leveling Bags: Lightweight and easy to store, useful for minor adjustments.
- Hydraulic RV Leveling Systems: Offers automatic leveling for larger RVs and motorhomes.
Each method has its pros and cons. Choose what suits your camper and camping style best.
Double-Checking the Level
After leveling, always double-check:
- Revisit the Leveling Tool: Use it to confirm the camper is level.
- Check Multiple Spots: Assess the level in various areas inside the camper.
- Fine-Tune Any Adjustments: Make necessary tweaks for perfect balance.
- Double-Check the Stabilizer Jacks: Ensure they’re securely in place.
- Confirm Front-to-Back Level: Adjust the tongue or hitch height if needed.
- Verify Side-to-Side Balance: Ensure your camper is evenly sitting on the blocks.
- Engage the Parking Brake: Secure your camper in its leveled position.
Step-by-Step Process
Conclusion
Leveling a camper is a valuable skill for any camper, enhancing safety, comfort, and the overall camping experience. Remember to prioritize safety, use the right tools, and periodically check the level during your stay. Adapt the process to your specific camper type and camping situation, and consider alternative methods if they suit your needs better. With this comprehensive guide, you’re now equipped to tackle any leveling challenge and ensure countless happy camping trips filled with wonderful moments.
Happy camping, and may your adventures be filled with awe-inspiring vistas and the comfort of a well-leveled camper!
Next Read: Camper Van vs RV: Which is Right for You?


