Installing a backyard zip line can be a fun and rewarding project. Here’s a step-by-step guide to help you install a zip line safely and effectively.
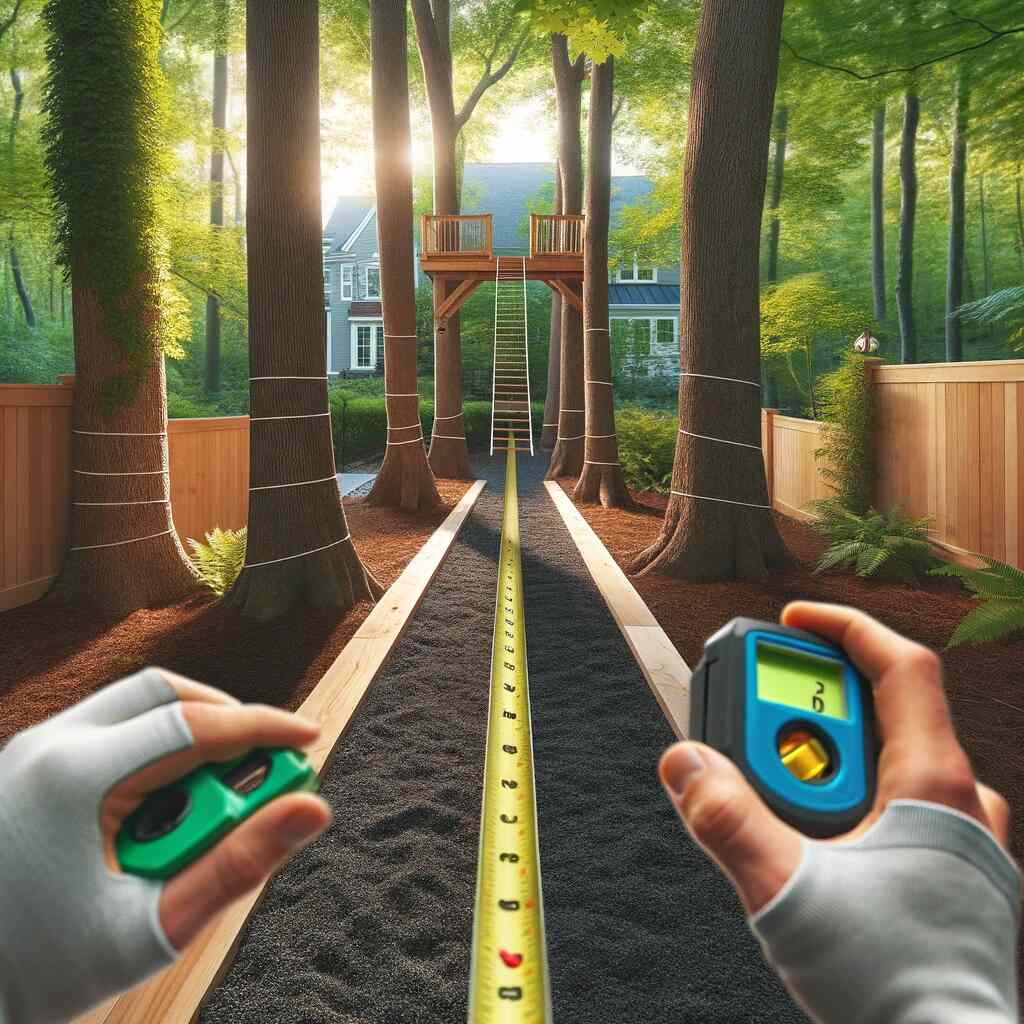
Step 1: Choose the Right Location
- Considerations: Look for two sturdy points like trees or posts, with a clear, slightly sloping path between them. Ensure there are no obstacles in the path.
- Safety: Check for stable, healthy trees if using them. The starting point should be higher than the end point for a natural decline.
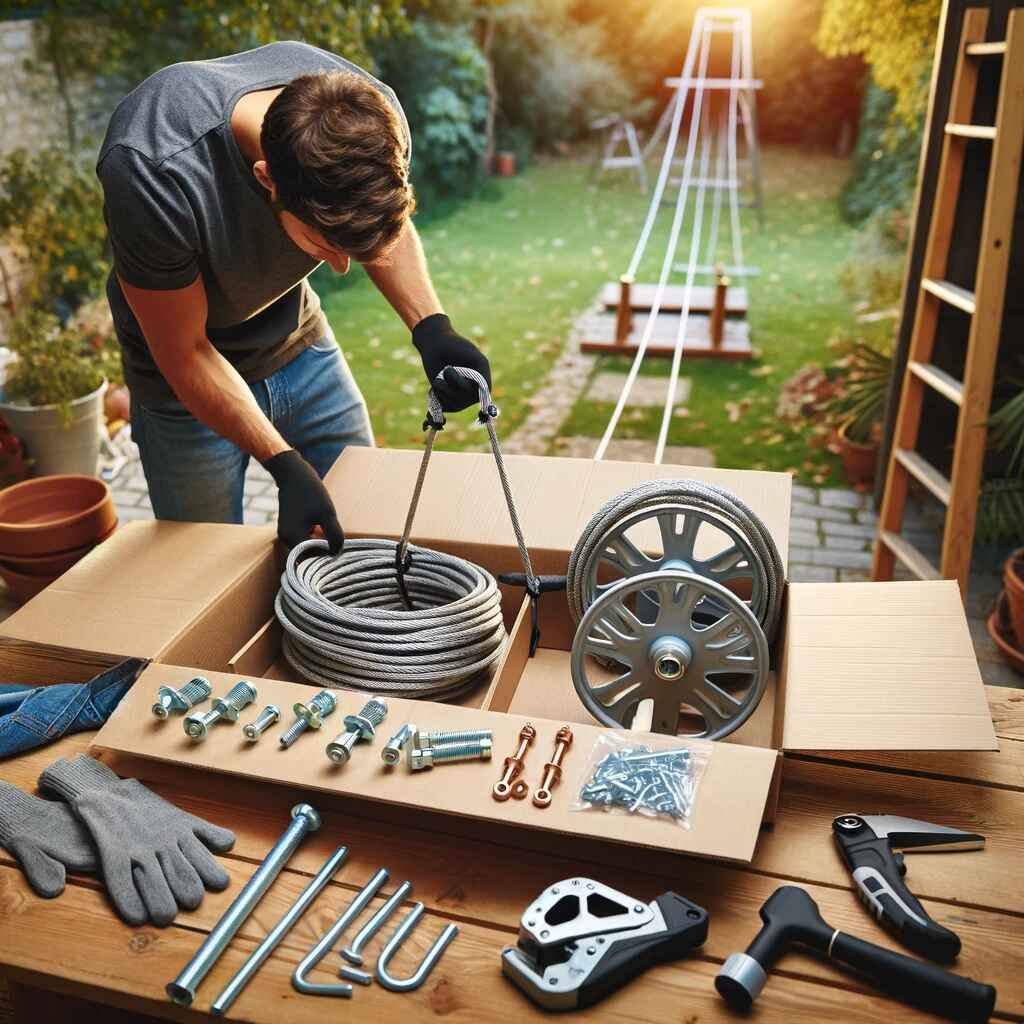
Step 2: Purchase a Zip Line Kit
- Kit Contents: A typical kit includes a cable, trolley, handlebar or seat, turnbuckle, and hardware for attachment.
- Considerations: Choose a kit with a length exceeding the distance between your two points to ensure you have enough cable.
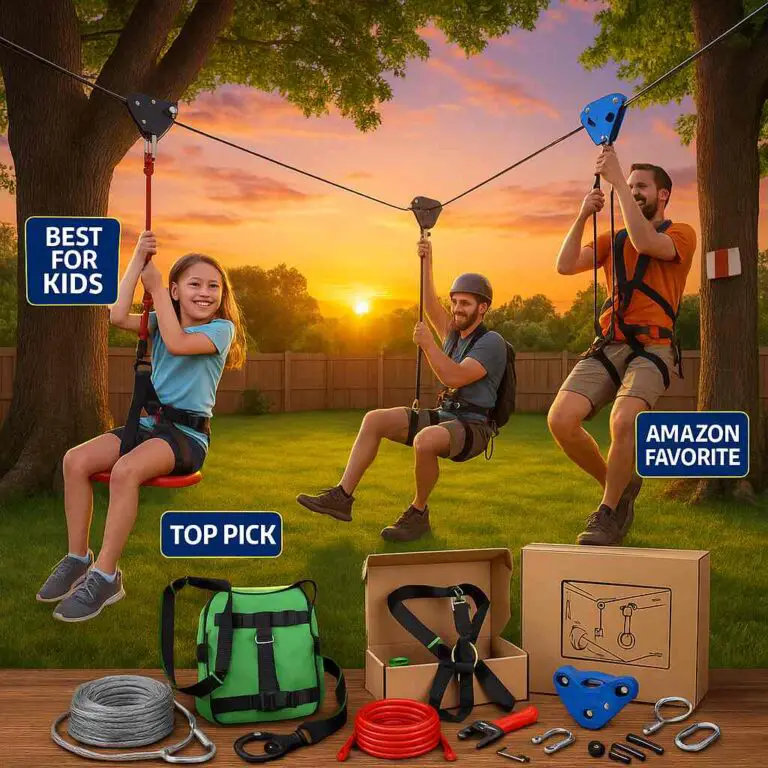
Recommended Zip Line Kits:
- CTSC 95 Foot Zip Line Kit with Stainless Steel Spring Brake and Seat
- Happybuy 100FT Zip Line Kit with Seat and Brake
- Slackers 70 ft. Hawk Series Zipline Kit with Spring Brake Kit
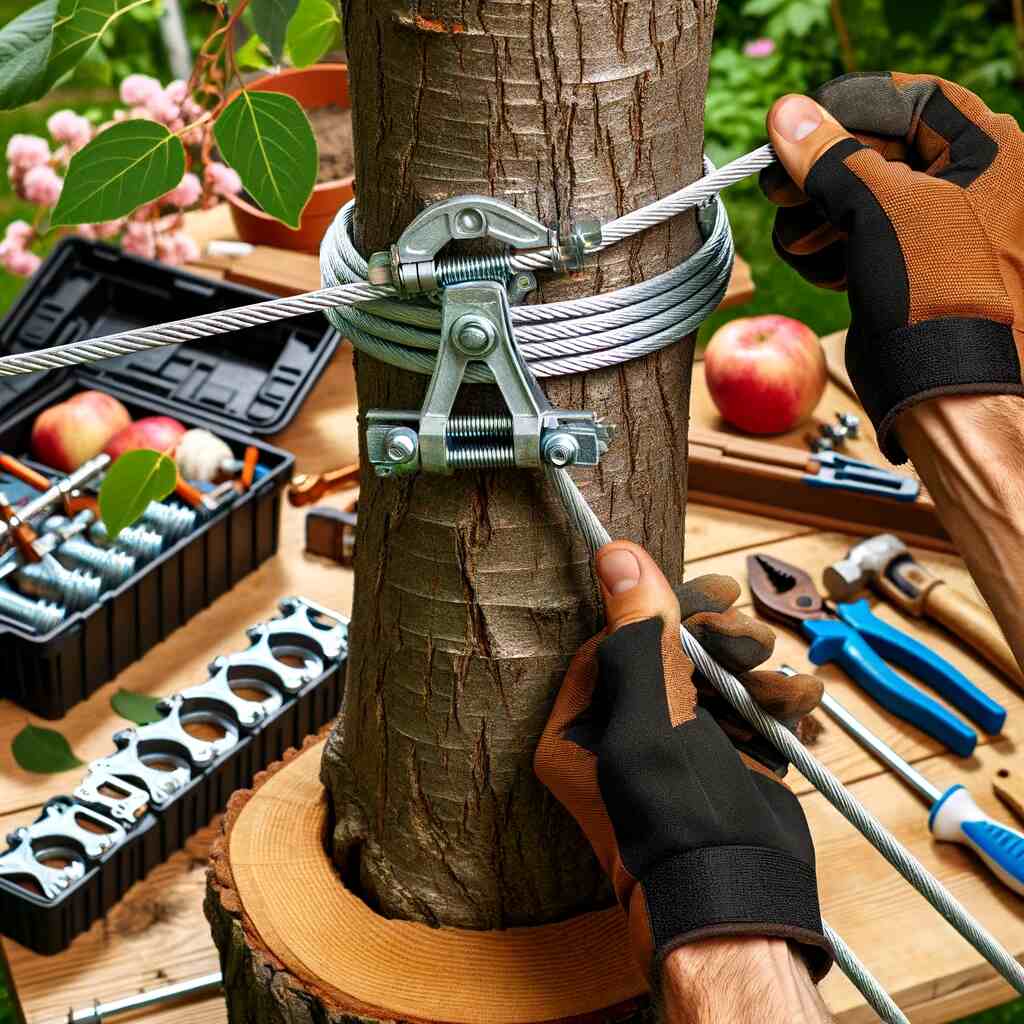
Step 3: Attach the Cable
- Starting Point: Wrap the cable around the higher point (tree or post) and secure it with clamps or a cable sling. If using a tree, use a tree protector to prevent damage.
- Ending Point: Stretch the cable to the lower point. Do not tighten it fully yet.
Recommended Cable Clamps and Tree Protectors:
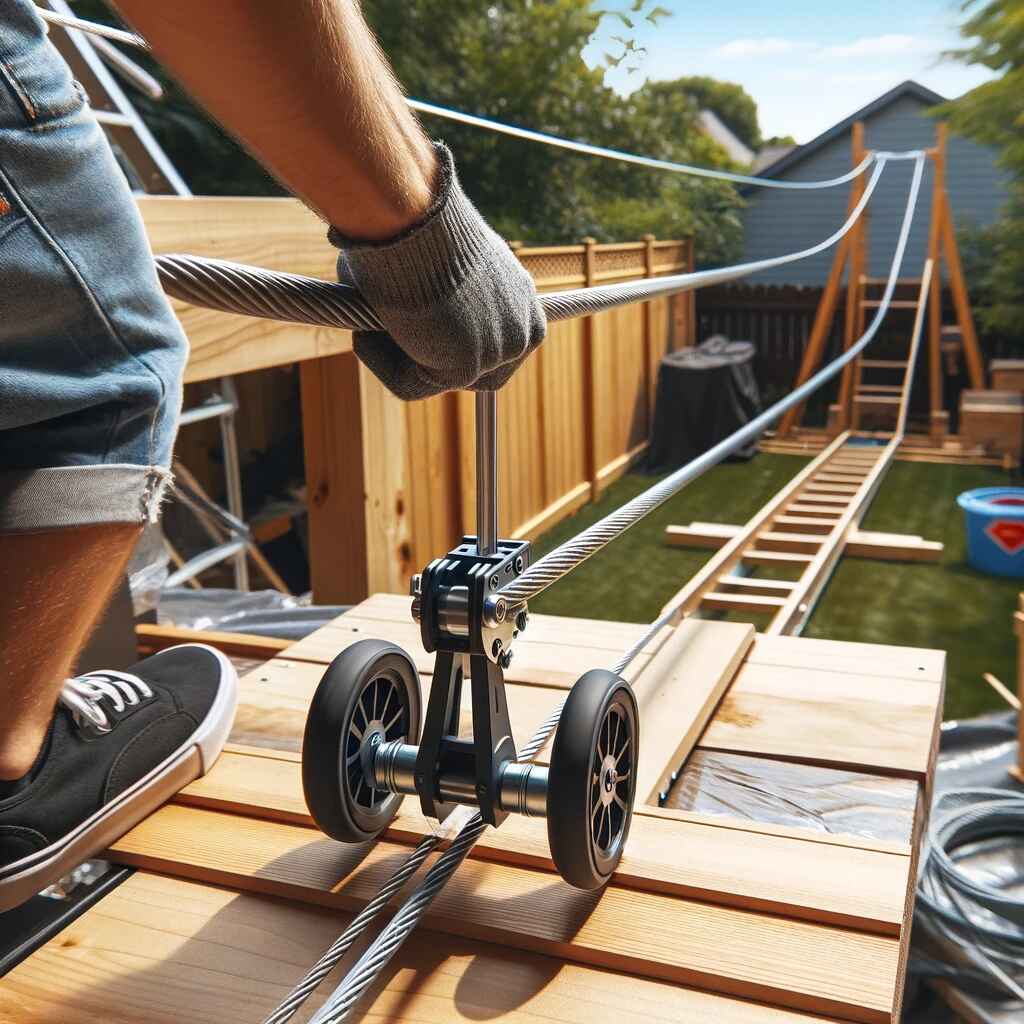
Step 4: Install the Trolley
- Before Tightening: Slide the trolley onto the cable before the cable is fully tightened.
- Orientation: Ensure the trolley is facing the right direction for the ride.
Recommended Zip Line Trolleys:
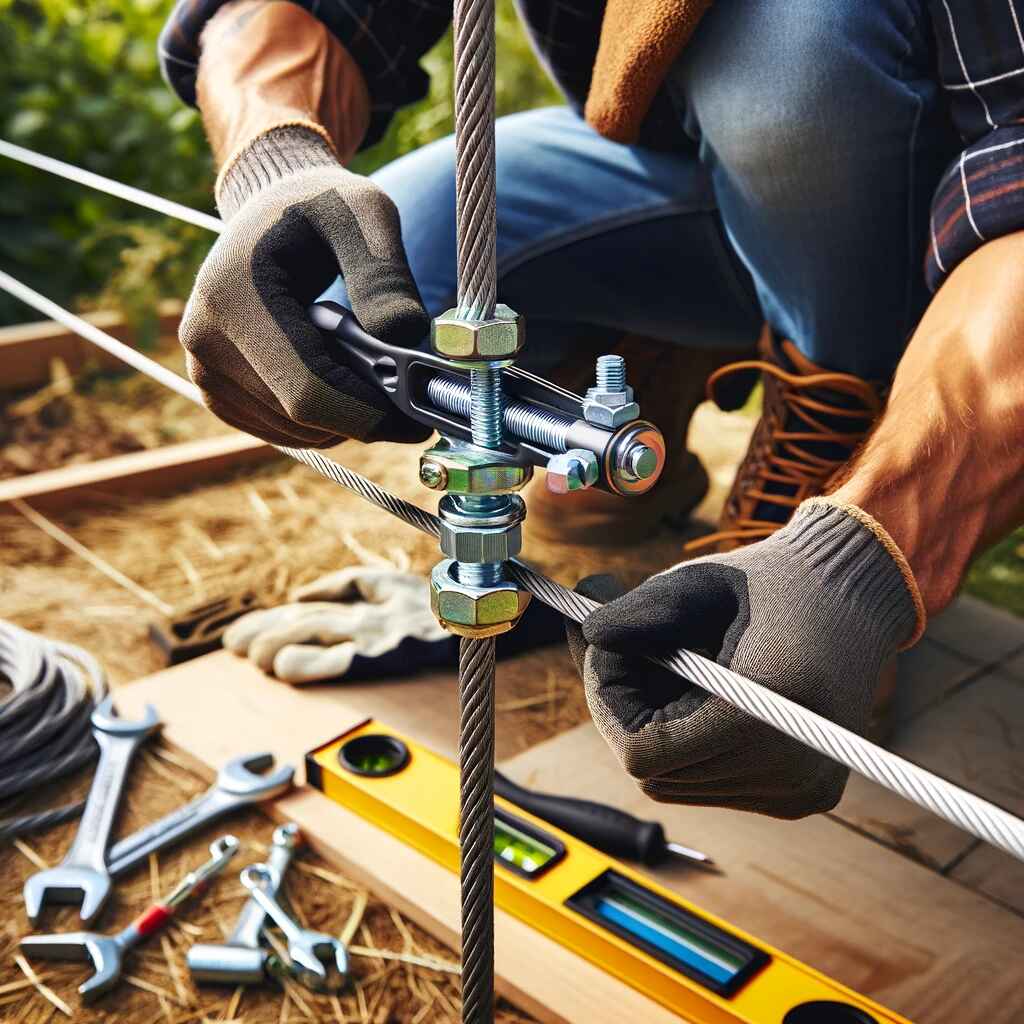
Step 5: Tighten the Cable
- Tension: Use a turnbuckle or cable tensioning kit to tighten the cable. It should have a slight sag for safety.
- Alignment: Check that the cable is level and straight.
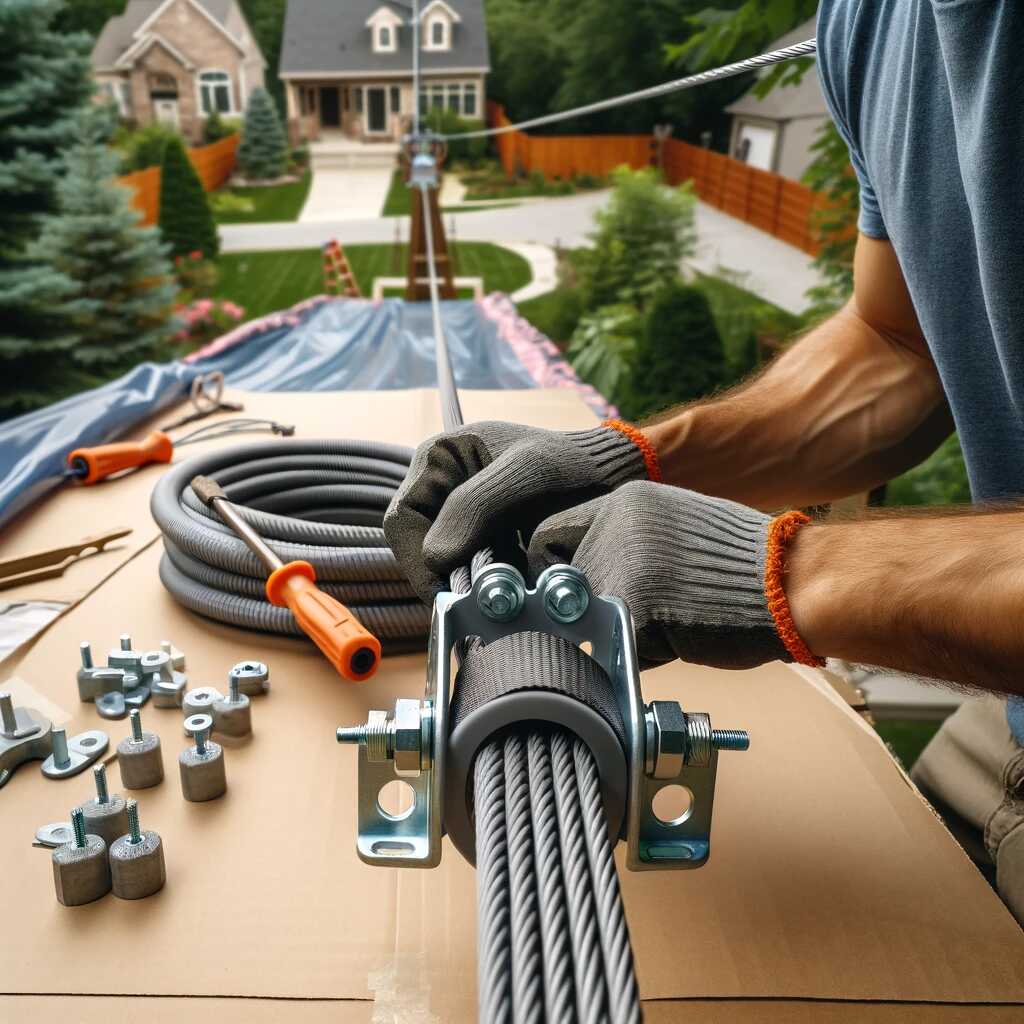
Step 6: Add Stop Blocks
- Purpose: Stop blocks are rubber or metal pieces that prevent the rider from colliding with the end points.
- Placement: Attach them a safe distance from both ends.
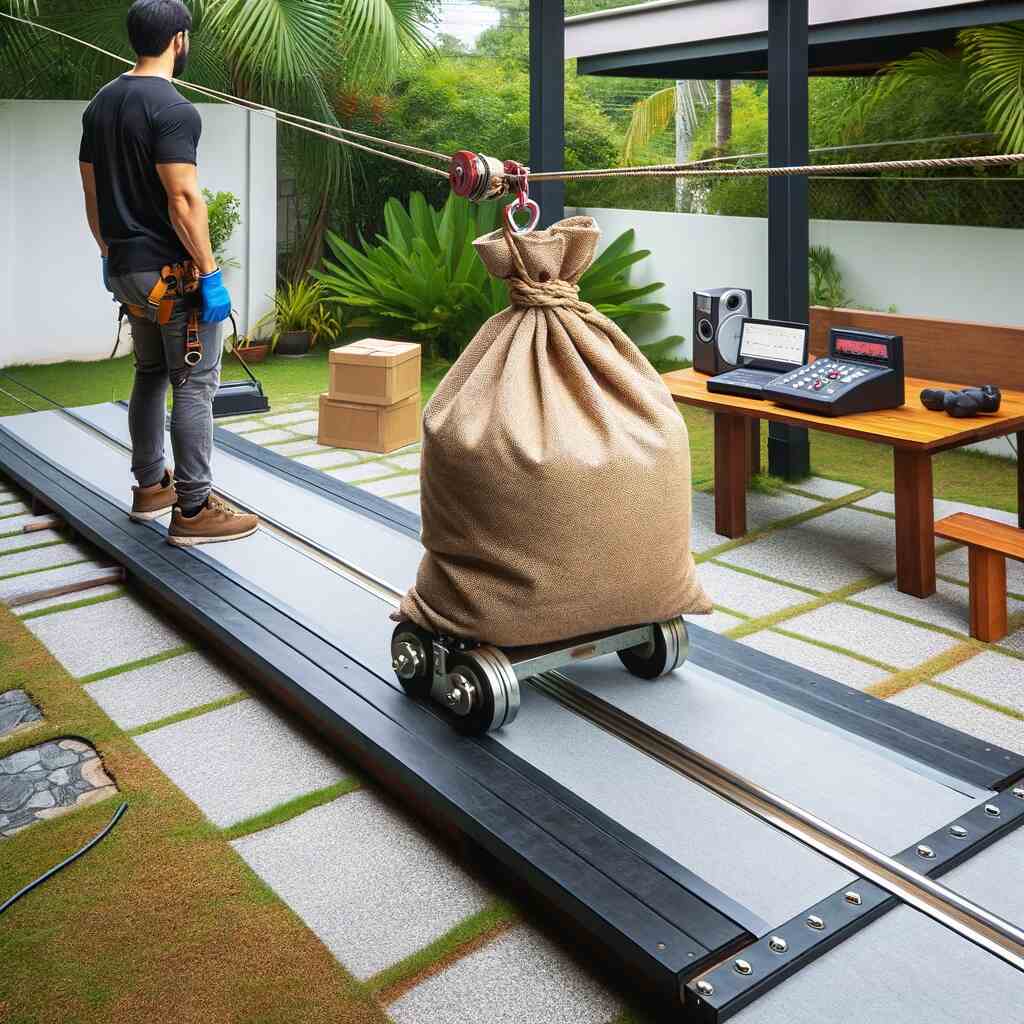
Step 7: Test the Zip Line
- Weight Test: Use a weight similar to the heaviest potential rider to test the zip line.
- Ride Test: An adult should take the first ride to ensure everything is secure and functioning.
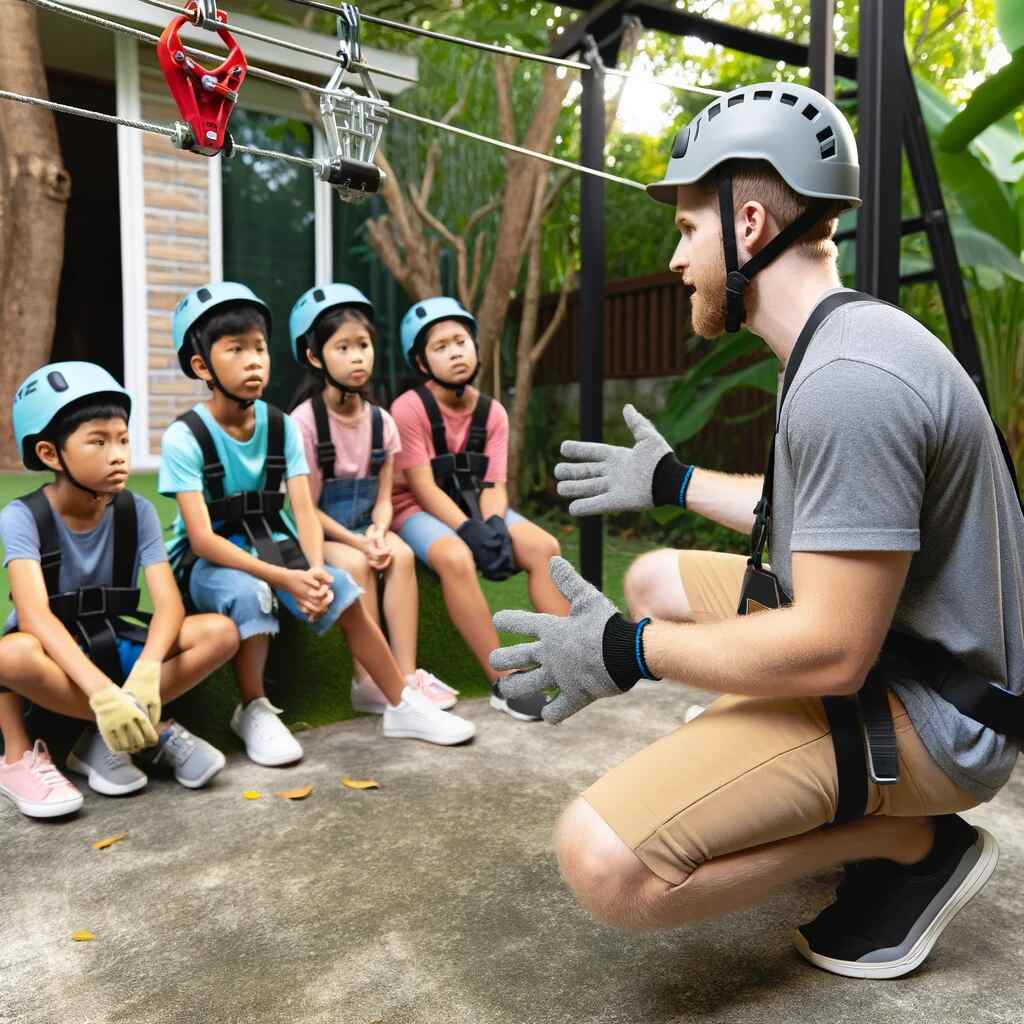
Step 8: Safety Briefing
- Instructions: Teach all riders proper usage, including how to sit or hold onto the trolley, and how to brake if necessary.
- Gear: Helmets and gloves are recommended for all riders.
Recommended Safety Gear:
- Triple Eight Dual Certified Bike and Skateboard Helmet
- Giro Tremor Youth Bike Helmet
- NoCry Cut Resistant Gloves
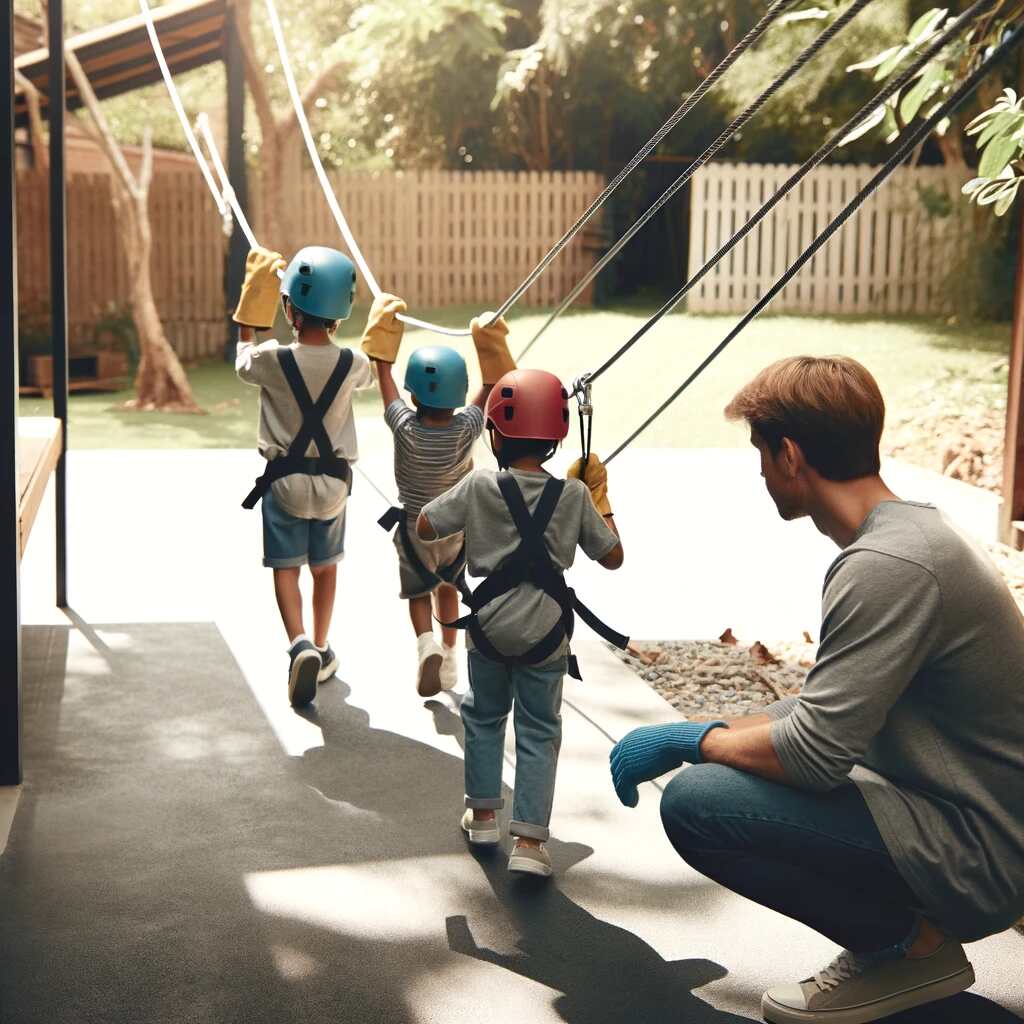
Step 9: Supervision and Maintenance
- Supervision: Always supervise children when the zip line is in use.
- Maintenance: Regularly check the cable tension, trolley, and attachments for wear and tear.
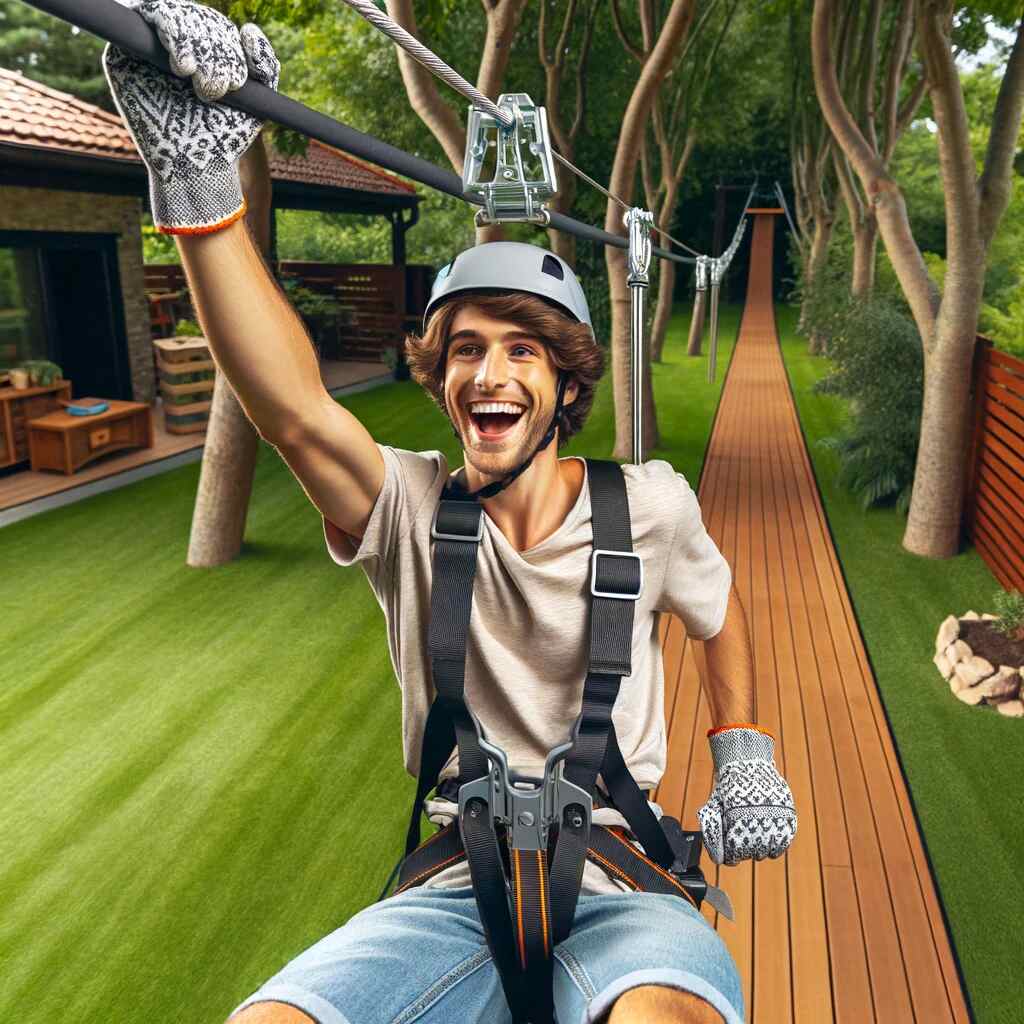
Step 10: Enjoy
- Once everything is safe and secure, enjoy your backyard zip line!
Conclusion
In conclusion, installing a backyard zip line can transform your outdoor space into an exhilarating playground, offering endless hours of fun for friends and family. By following the step-by-step guide provided, you can ensure a safe and enjoyable experience for everyone. From selecting the right location and equipment to conducting safety briefings and regular maintenance, each step is crucial to creating a secure and thrilling adventure right in your backyard.
Remember, the key to a successful zip line is not just in the installation but in the ongoing care and supervision. So, strap in, let loose, and enjoy the ride as you soar through the air on your very own backyard zip line!