Fishing is not just about having the right gear or bait; it’s also about mastering the art of knot tying. Properly tied knots are crucial in ensuring that your fishing line doesn’t fail when you’re battling a fish. Different fishing scenarios require different knots, and knowing which knot to use can make a significant difference in your fishing success.
In this comprehensive guide, we will explore a variety of specialized knots for different fishing situations, from basic knots for beginners to advanced knots for seasoned anglers.
The Basics: Common Knots Every Angler Should Know
Before we dive into specialized knots, it’s essential to have a solid understanding of the basic knots that form the foundation of fishing knot tying. These knots are versatile and can be used in various fishing scenarios:
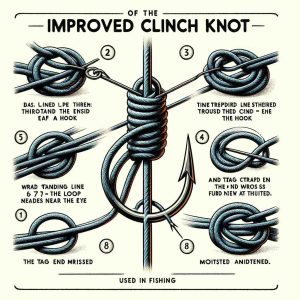
1. Improved Clinch Knot
The Improved Clinch Knot is one of the most fundamental knots in fishing. It’s used to attach hooks, lures, and swivels to the fishing line. Here’s how to tie it:
- Thread the line through the eye of the hook or lure.
- Wrap the tag end of the line around the standing line 5-7 times.
- Pass the tag end through the loop formed near the eye of the hook.
- Moisten the knot with saliva or water.
- Tighten the knot by pulling the tag end while holding the standing line.
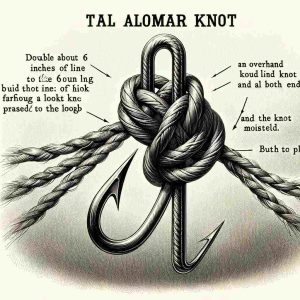
2. Palomar Knot
The Palomar Knot is another versatile knot that provides excellent strength and is easy to tie. It’s suitable for both hooks and lures:
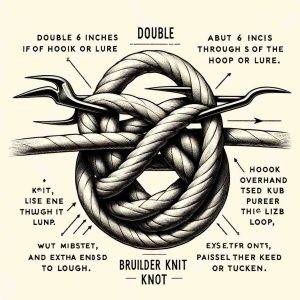
- Double about 6 inches of line and pass it through the eye of the hook or lure.
- Tie an overhand knot with the doubled line, forming a loop.
- Pass the hook or lure through the loop.
- Moisten the knot and pull both ends to tighten.
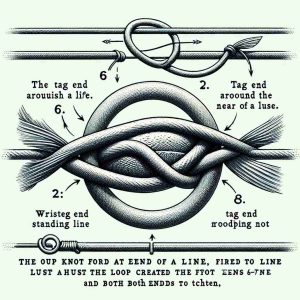
3. Loop Knot
A Loop Knot is handy when you need to allow your bait or lure more freedom of movement, making it ideal for certain artificial lures like crankbaits and topwater baits. Here’s how to tie it:
- Form a loop at the end of your line.
- Pass the loop through the eye of the lure.
- Wrap the tag end around the standing line 5-6 times.
- Pass the tag end through the loop created near the eye.
- Moisten the knot and pull both ends to tighten.
4. Uni Knot
The Uni Knot, also known as the Duncan Loop Knot, is a versatile knot that can be used for attaching hooks, lures, and swivels:
- Thread the line through the eye of the hook or lure.
- Double back and create a loop with the tag end.
- Wrap the tag end around the standing line and through the loop five times.
- Moisten the knot and pull both ends to tighten.
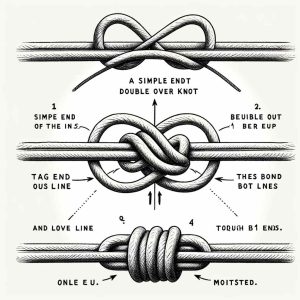
5. Double Uni Knot
The Double Uni Knot is a reliable knot for joining two lines of different diameters, making it perfect for connecting your mainline to a leader or adding a fluorocarbon leader to your braided line:
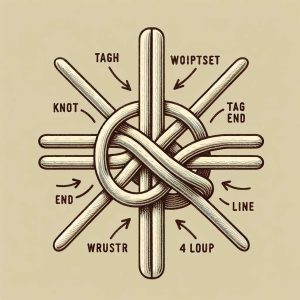
- Overlap the ends of the two lines you want to join.
- Tie a simple overhand knot with one of the lines, creating a loop.
- Pass the other line through the loop created.
- Wrap the tag end of the first line around both lines and through the loop four times.
- Moisten the knot and pull both ends to tighten.
Now that we’ve covered the basics, let’s explore specialized knots for specific fishing scenarios.
Knots for Different Fishing Scenarios

1. Knots for Terminal Tackle
Terminal tackle includes hooks, swivels, and lures. Properly securing these items is crucial to avoid losing a fish. Here are some specialized knots for attaching terminal tackle:
a. Snell Knot
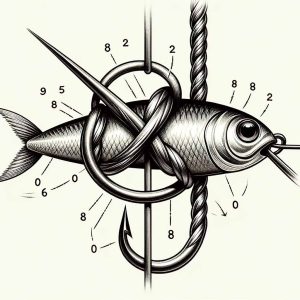
The Snell Knot is a popular choice for attaching hooks to your line when you want the hook to ride at a right angle to the line. This is especially useful when fishing with live bait. Here’s how to tie it:
- Thread the line through the eye of the hook from the front.
- Make a loop with the tag end alongside the shank of the hook.
- Wrap the tag end around the shank and the standing line 5-7 times.
- Pass the tag end through the loop created behind the eye.
- Moisten the knot and pull both ends to tighten.
b. Loop Knot for Lures
As mentioned earlier, the Loop Knot is ideal for lures that need extra freedom of movement. It allows the lure to move more naturally in the water, making it an excellent choice for crankbaits and topwater lures.
c. Loop Knot for Flies
Fly fishing often requires delicate presentations, and the Loop Knot can help achieve that. When tying on a fly, especially dry flies or nymphs, use this knot to allow for better movement and presentation.
2. Knots for Braided Line
Braided fishing lines are known for their strength and sensitivity, but they can be challenging to tie due to their slippery nature. Here are two specialized knots for braided lines:
a. Double Palomar Knot
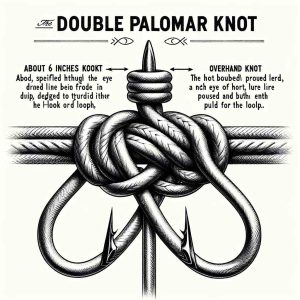
The Double Palomar Knot is a variation of the Palomar Knot designed to work better with braided lines:
- Double about 6 inches of the braided line and pass it through the eye of the hook or lure.
- Tie an overhand knot with the doubled line, forming a loop.
- Pass the hook or lure through the loop.
- Moisten the knot and pull both ends to tighten.
b. Uni-to-Uni Knot
The Uni-to-Uni Knot is a reliable choice for connecting two lines of different materials, such as braided line to fluorocarbon leader:
- Overlap the ends of the two lines you want to join.
- Pass the other line through the loop created.
- Wrap the tag end of the first line around both lines and through the loop four times.
- Moisten the knot and pull both ends to tighten.
3. Knots for Leaders
When using leaders in your fishing setup, you’ll need specialized knots to ensure a strong connection. Leaders are often used for added stealth in clear water or abrasion resistance when targeting toothy fish. Here are some knots for leaders:
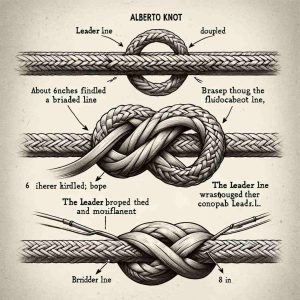
a. Alberto Knot
The Alberto Knot is an excellent choice for joining a braided line to a fluorocarbon or monofilament leader:
- Double about 6 inches of the leader line and overlap it with the braided line.
- Pass the leader line through the braided line loop.
- Wrap the leader line around the braided line and itself 6-8 times.
- Pass the leader line back through the loop.
- Moisten the knot and pull both ends to tighten.
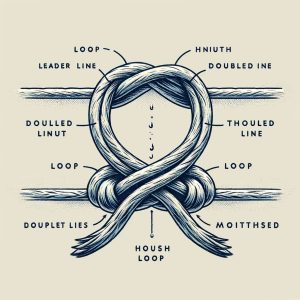
b. Surgeon’s Loop
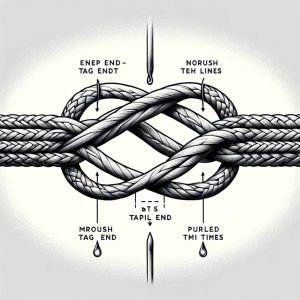
The Surgeon’s Loop is a simple yet strong loop knot used to create a loop at the end of your leader. It’s useful for attaching lures, hooks, or snaps:
- Double the end of your leader line to form a loop.
- Pass the doubled line through the loop, creating a second loop.
- Pass the second loop through the first loop.
- Moisten the knot and pull both ends to tighten.
4. Knots for Heavy Cover
When fishing in heavy cover, you need knots that can withstand the abrasion and potential snags. Here are two specialized knots for such scenarios:
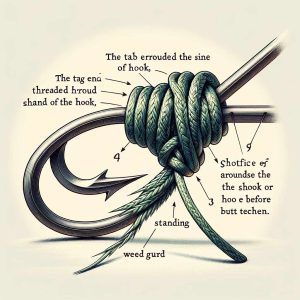
a. Snell Knot with a Weed Guard
The Snell Knot with a Weed Guard is a modification of the Snell Knot designed to keep the hook point from snagging in weeds or underwater structure:
- Thread the line through the eye of the hook from the front.
- Make a loop with the tag end alongside the shank of the hook.
- Wrap the tag end around the shank and the standing line 5-7 times.
- Pass the tag end through the loop created behind the eye.
- Before tightening, add a short piece of stiff monofilament or wire as a weed guard by bending it over the hook point.
- Moisten the knot and pull both ends to tighten.
b. Loop Knot with a Weedless Spoon
When fishing with weedless spoons or similar lures, use a Loop Knot with a Weedless Spoon to ensure that the lure remains weed-free:
- Form a loop at the end of your line.
- Pass the loop through the eye of the lure.
- Wrap the tag end around the standing line 5-6 times.
- Pass the tag end through the loop created near the eye.
- Moisten the knot and pull both ends to tighten.
- To make it weedless, bend the tag end of the loop down over the lure’s hook, securing it with a rubber band or heat shrink tubing.
5. Knots for Fly Fishing
Fly fishing requires precision and delicate presentations, and the right knots can make all the difference. Here are some specialized knots for fly fishing:
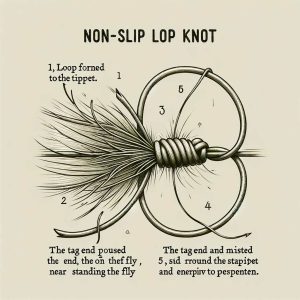
a. Non-Slip Loop Knot
The Non-Slip Loop Knot is commonly used in fly fishing to attach the fly to the tippet. It allows the fly to move more freely, enhancing its lifelike presentation:
- Form a loop at the end of your tippet.
- Pass the loop through the eye of the fly.
- Wrap the tag end around the standing line 4-5 times.
- Pass the tag end through the loop created near the eye.
- Moisten the knot and pull both ends to tighten.
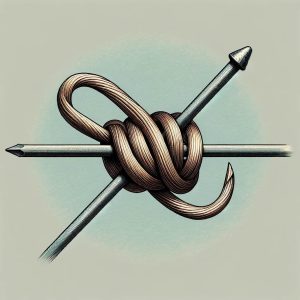
b. Nail Knot
The Nail Knot is used to attach the leader to the fly line. While there are specialized tools for tying this knot, you can also tie it without them:
- Insert the tip of the leader into the fly line.
- Hold the two lines parallel, with about 6 inches of leader extending beyond the fly line.
- Using a small-diameter tube or a nail, insert it between the two lines.
- Wrap the leader around the tube or nail and both lines 5-7 times.
- Remove the tube or nail and pull the leader to tighten the knot.
6. Knots for Big Game Fishing
Big game fishing requires knots that can withstand the immense power of large, strong fish. Here are two specialized knots for such scenarios:
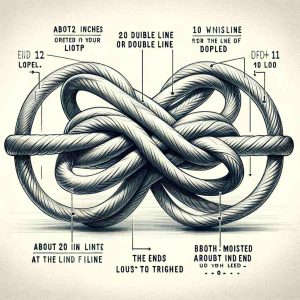
a. Bimini Twist
The Bimini Twist is used to create a loop at the end of your line, which is then used to connect to a leader or a double line:
- Double about 20 inches of your line.
- Create a loop by twisting the doubled line about 20 times.
- Hold the ends of the loop and fold it in half.
- Wrap the folded loop around the base of the twists 10-12 times.
- Moisten the knot and pull both ends to tighten.
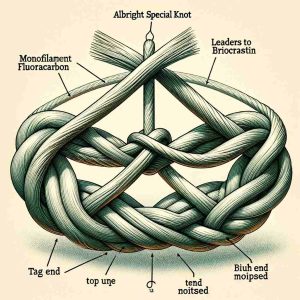
b. Albright Special Knot
The Albright Special Knot is an excellent choice for joining different types of lines, such as monofilament or fluorocarbon leaders to braided mainline:
- Overlap the ends of the two lines you want to join.
- Take the tag end of the leader and wrap it around the braided line and itself 10-12 times.
- Pass the leader tag end back through the loop created.
- Moisten the knot and pull both ends to tighten.
Tips for Successful Knot Tying
Regardless of the type of knot you’re tying, there are some general tips to keep in mind to ensure successful knot tying:
- Moisten the Knot: Always moisten the knot with saliva or water before tightening it. This reduces friction and heat, allowing the knot to tighten properly without weakening the line.
- Trim Excess Line: After tying the knot, trim the excess tag end as close to the knot as possible without cutting the knot itself. This reduces the chances of the tag end catching on vegetation or debris.
- Practice: Knot tying is a skill that improves with practice. Spend time practicing different knots at home before heading out on your fishing trip.
- Inspect Your Knots: Before casting your line, inspect your knots carefully. Look for any signs of wear or damage, such as fraying or visible gaps in the knot. If you have any doubts about a knot’s integrity, re-tie it.
- Use the Right Knot for the Job: Select the appropriate knot for your fishing scenario. Using the right knot ensures that your line will perform at its best under the specific conditions you’re facing.
Conclusion
Mastering the art of knot tying is an essential skill for any angler. Whether you’re a beginner or an experienced angler, knowing the right knots for different fishing scenarios can greatly enhance your success on the water. From basic knots for attaching terminal tackle to specialized knots for specific fishing situations, this guide has covered a wide range of knot-tying techniques.
So, next time you’re on the water, remember to choose the right knot for the job and enjoy a more productive and enjoyable fishing experience.


