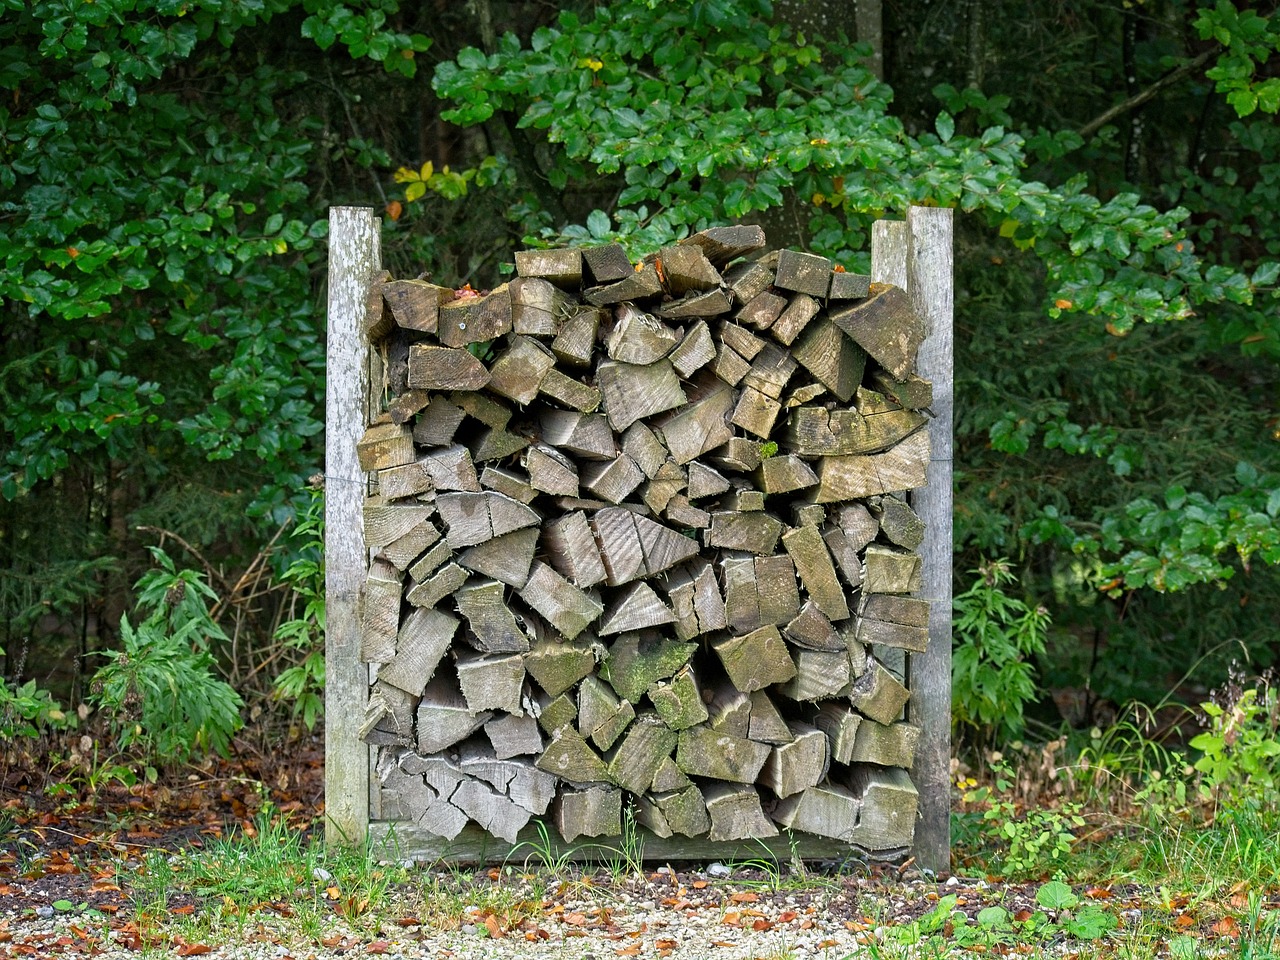
When winter arrives, there’s nothing quite as comforting as the warmth and ambiance of a crackling fire in your fireplace or wood stove. However, before you can enjoy the cozy glow, you need to have a ready supply of firewood on hand. This is where a well-designed firewood rack comes into play. In this article, we’ll guide you through the process of building your very own firewood rack, complete with a blueprint and step-by-step instructions. Best of all, you can create this sturdy and stylish firewood storage solution for free, using reclaimed or repurposed materials. Let’s get started!
Why Build Your Own Firewood Rack?
Before we dive into the nitty-gritty of building your firewood rack, let’s explore why it’s a worthwhile project:
- Cost-Effective: Purchasing a pre-made firewood rack can be expensive, especially for high-quality options. By building your own, you can save a significant amount of money.
- Customization: When you build your firewood rack, you have complete control over its size, design, and features. This allows you to tailor it to your specific needs and preferences.
- Environmental Benefits: Repurposing or using reclaimed materials for your firewood rack is an eco-friendly choice. It reduces waste and minimizes the need for new resources.
- DIY Satisfaction: There’s a sense of pride and satisfaction that comes from creating something functional with your own hands. Building a firewood rack can be a rewarding DIY project.
- Enhanced Firewood Management: A well-organized firewood rack helps keep your firewood dry, clean, and easily accessible. It also prevents pests and mold from damaging your wood supply.
Now that you’re convinced of the benefits of building your firewood rack, let’s move on to the blueprint and step-by-step instructions.
Materials and Tools You’ll Need
Before you begin building your firewood rack, gather the necessary materials and tools. The good news is that you can source most of these items for free or at a minimal cost if you’re resourceful. Here’s what you’ll need:
Materials:
- Wooden Pallets or Scrap Wood: Look for wooden pallets or scrap lumber. These can often be obtained for free from construction sites, warehouses, or local businesses. Make sure the wood is in good condition and free of rot or pests.
- Screws: You’ll need screws to assemble the rack. 2-3 inch deck screws work well for this project.
- Measuring Tape: Essential for taking accurate measurements.
- Circular Saw or Hand Saw: To cut the wood to the desired lengths.
- Cordless Drill: For drilling pilot holes and driving screws.
- Screwdriver Bit: Attach this to your cordless drill for driving screws.
- Level: To ensure your rack is straight and stable.
Optional Materials for Added Style:
- Stain or Paint: If you want to give your firewood rack a finished look, you can use stain or paint. This is entirely optional but can add a touch of style to your creation.
- Outdoor Sealant: If your rack will be exposed to the elements, consider applying an outdoor sealant to protect the wood from moisture and weathering.
Now that you have your materials and tools ready, it’s time to move on to the blueprint and building instructions.
Blueprint for Your Firewood Rack
Before starting any construction project, having a blueprint or plan is crucial. It helps you visualize the end product and provides guidance throughout the building process. Here’s a basic blueprint for a simple and sturdy firewood rack:
Firewood Rack Blueprint
- Dimensions: 4 feet (48 inches) wide, 2 feet (24 inches) deep, and 4 feet (48 inches) tall.
- Materials: Wooden pallets or scrap wood.
- Design: A-frame style rack with two side panels and three horizontal supports.
Now that you have a clear idea of what you’ll be building, let’s go through the step-by-step instructions.
Step-by-Step Instructions
Step 1: Gather Your Materials
Ensure you have all the materials and tools listed above before you begin. It’s essential to have everything on hand to prevent interruptions during the construction process.
Step 2: Prepare the Wood
If you’re using wooden pallets, carefully dismantle them using a crowbar or reciprocating saw. Be cautious while handling pallets, as they may have nails or splinters. If you’re using scrap lumber, make sure it’s cut to the required lengths:
- Four pieces measuring 4 feet (48 inches) each for the vertical posts.
- Six pieces measuring 2 feet (24 inches) each for the horizontal supports.
Step 3: Build the Side Panels
- Take two of the 4-foot vertical posts and lay them parallel to each other, about 4 feet apart.
- Place two of the 2-foot horizontal supports horizontally between the vertical posts, positioning one near the top and one near the bottom. These supports will form the base of the side panel.
- Attach the horizontal supports to the vertical posts using screws. Drill pilot holes to prevent splitting the wood, then drive in the screws.
- Repeat this process to create the second side panel.
Step 4: Connect the Side Panels
- Stand one of the side panels upright, with the horizontal supports on the ground.
- Place the remaining 4-foot vertical posts on top of the side panel’s vertical posts, forming an “A” shape.
- Secure the top of the vertical posts together using screws to connect the two side panels. This forms the peak of the A-frame structure.
- Ensure the structure is level and stable. Adjust as needed.
Step 5: Add Horizontal Supports
- Place the remaining 2-foot horizontal supports evenly between the two side panels. These supports will provide stability and prevent the firewood from falling out.
- Attach the horizontal supports to the vertical posts using screws, just as you did in Step 3.
Step 6: Finishing Touches (Optional)
If you’d like to give your firewood rack a more polished look, consider staining or painting it in your desired color. Apply an outdoor sealant if your rack will be exposed to the elements to protect the wood from moisture.
Step 7: Load Your Firewood
With your firewood rack complete, it’s time to load it up with firewood. Stack the wood neatly on the horizontal supports, ensuring it’s stable and won’t tip over. By keeping your firewood off the ground and well-ventilated, you’ll ensure it stays dry and ready for use.
Tips and Tricks for a Successful Build
While the basic instructions above should guide you through the process, here are some additional tips to help you build a sturdy and stylish firewood rack:
- Choose Quality Wood: While reclaimed or scrap wood can be a cost-effective choice, make sure it’s sturdy and free from rot or damage.
- Measure Twice, Cut Once: Accurate measurements are essential for a well-fitted rack. Double-check your measurements before making any cuts.
- Pre-Drill Holes: To prevent wood from splitting, always pre-drill holes for screws. This also makes it easier to drive in the screws.
- Use a Level: Ensure your rack is level at every stage of construction to prevent stability issues.
- Safety First: Wear appropriate safety gear, including safety glasses and gloves, when handling wood and power tools.
- Consider Mobility: If you’d like to move your firewood rack around, attach wheels to the bottom for added mobility.
- Customize Your Rack: Feel free to adjust the dimensions and design to suit your specific needs and available materials.
Conclusion
Building your firewood rack is a rewarding and cost-effective DIY project that provides you with a functional and stylish solution for storing firewood. By repurposing or using reclaimed materials, you can create an eco-friendly storage solution that not only keeps your firewood organized and dry but also adds a touch of rustic charm to your outdoor space.
So, roll up your sleeves, gather your materials, and get ready to enjoy the warmth and comfort of a roaring fire this winter, courtesy of your very own handmade firewood rack. Happy building!


